EP Meeting: Clean Editor and Git Workflows

By Matt Vollrath
June 14, 2012
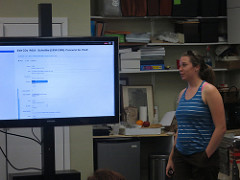
Having good editor configurations and Git habits is a great way to make work easier and less tedious. David Christensen showed us how to reduce cruft and leverage advanced features of Git to take control of the code.
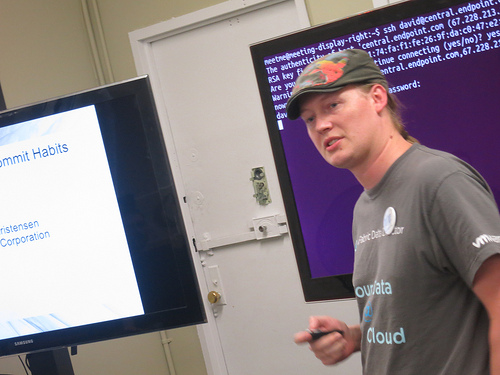
Indentation is a big part of reading and understanding code, too important to be ignored. Tabs can be interpreted differently in different editors, so using spaces makes life easier for you and your coworkers. Most editors have automatic indentation and tab translation settings to standardize the workflow. Remember, code should be optimized for humans.
Commit often! If your commit can not be summarized in one sentence, it is probably not granular enough. Don’t hesitate to make multiple commits per work session as you accomplish separate tasks. In your commit messages, describe the ‘why,’ not the ‘how.’ Don’t mix trivial style or whitespace tweaks with actual code modifications, because it makes it harder to catch important changes in diffs. If you make multiple changes to a single file, you can use -p/–interactive mode to commit hunks of code separately.
git tips tools
Handling Ecommerce Transactions with PayPal

By Greg Davidson
June 14, 2012
Options
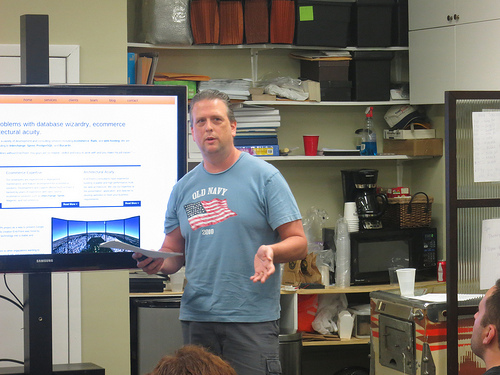
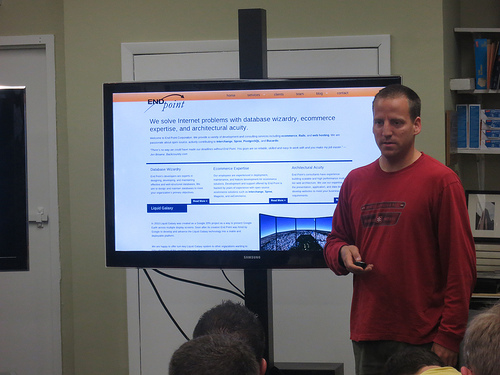
PayPal has several options for payment processing and Mark Johnson just shared his experiences working with saved credit cards using PayPal’s Express Checkout.
Order Types
There are a couple of order types of transaction in Express Checkout:
- Standard: everything purchased in a single transaction
- Custom: handles multiple shipments and multiple charges
What’s in a name?
PayPal generates something they call an “order” that is distinct from the order for a given merchant. This is typically confusing to merchants because their concept of an order simply refers to the order a customer has just placed in their ecommerce application. The PayPal “order” is created prior to any other transaction. If the authorization fails, the “order” is not removed (which would be nice) but lingers around for 29 days by default. When merchants ask about this, the response PayPal offers is to void the “order”. For standard on API call (authorization) if that fails you have to do a second API call to void the order.
The “order” has little value except to specify a charge ceiling for a given ecommerce transactions. Although the ceiling is set by the “order”, there is the notion of an “order …
ecommerce payments api
Josh Tolley: About Google Earth Tours

By Josh Ausborne
June 14, 2012
Josh Tolley spoke on the building of tours for viewing within Google Earth and the Liquid Galaxy. It seems that everybody has data and wants a way to view it, such as businesses who want to visually represent where their customers are based, or even documenting where lightning strikes within a certain region. Google Earth is a fantastic tool for the viewing of this data.
Josh talked about what is required to display geographical data in Google Earth. The data needs to go through the process of geocoding, which is the conversion to latitudinal and longitudinal format. As this is a tedious process, it is highly recommended to use a script and loop through the conversion. Google Earth is based upon KML documents, which are XML documents that contain geographical data. He explained some of the different ways to create the KML documents, including the use of Google Earth itself, writing by hand, or using a tool such as kamelopard or PyKML to create the data.
He demonstrated how a KML file can contain data such as placemarks, polygons, time lapses, overlays, and animations, and he showed his own farm with an overlay placed in the wheat field. Now the zombies know where to find wheat. …
google-earth visionport kamelopard kml
OpenSSH Tips and Tricks with Matt Vollrath

By Brian Buchalter
June 14, 2012
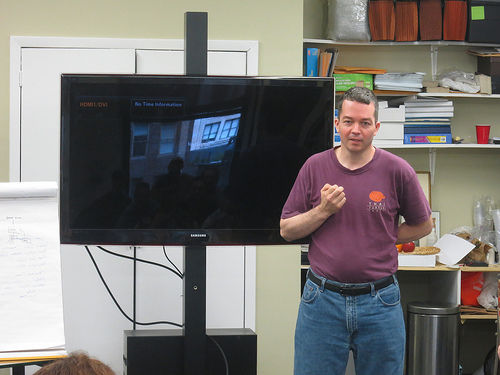
Matt Vollrath’s presentation focused on unique solutions Liquid Galaxy administration requires.
Specifically, Liquid Galaxy requires secure access to many public sites, which we don’t have physical access to. OpenSSH helps handle these remote challenges securely and quickly.
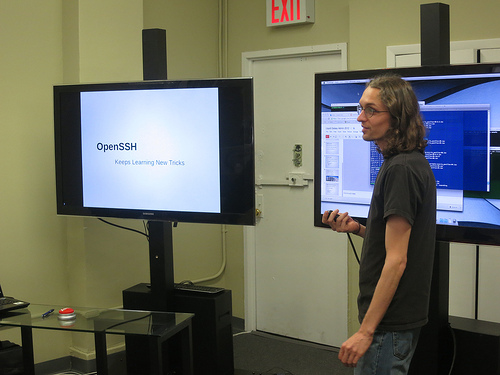
Multiplexing for Speed
The LG master node can send commands to all the slave nodes at the same time. This can be helpful to examine all display nodes’ current states without manual work. The multiplexed connection uses options -f (background), -M (control socket), -N (no command), and -T (prevents pseudo-terminal from being allocated), and any further connections to the host do not need to authenticate, for speed.:
ssh -fMNT hostname &
Include the ampersand to be able to track the PID of the background ssh connection. This connection will be maintained until it fails or is killed.
Additionally -O allows us to examine the state of the control connection as well as exit. As of OpenSSH 5.9, you can also use -O with the “stop” command to not accept any more multiplexers.
When combined with a simple bash script to inspect the host connection first, the script can create that multiplexed connection first. This …
visionport ssh tips
Overcoming Adversity on the Road: Stories Behind the Liquid Galaxy

By Mark Johnson
June 14, 2012
I recall receiving a call from Ben Goldstein about an early LG install in Washington, DC (near my home). After a short discussion about the general project, the gist of the call: “Can Kiel and I use your garage to store and assemble the LG display? It’ll just be for a few days.”
As it turned out, they didn’t need my garage (even though they were welcome to it), but it was a glimpse into some of the obstacles the End Point team faces when we take remote work, outside the familiar trappings of our own environment.

Gerard Drazba provided an introduction of the scope of LG installations in 2012. For the current year alone, through Q3, travel to deliver the sizable LG equipment will approach 60,000 miles to dozens of different destinations, from across the street (and up 5 floors) in NYC to destinations as far away as Singapore and South Korea.
The equipment is bulky, complicated to deliver—and heavy! Each shipment is approximately 1800 lbs. Fully 44% of these different installations have been, or will have been, delivered to international locations. The global presence for demand of LG installations is only growing—and has its own challenges beyond the domestic destinations.
Kiel …
visionport travel
RailsAdmin & Django

By Jeff Boes
June 14, 2012
Steph Skardal and Greg Davidson presented on RailsAdmin and Django (in the context of two of our clients, Musica Russica and Providence Plan).
Clients need a browser interface to administrate their Rails apps’ assets and configuration. RailsAdmin is an “engine” (an embedded miniature Rails app) for developing an admin interface, and a relatively young open-source project. It offers a CRUD-capable interface. It provides data export, filtering, pagination, and support for file attachments and a popular plug-in called “PaperTrail”. Musica Russica uses this as their site administration. This admin interface can be configured with many different customizable options: formatting, help text, sorting, etc.
RailsAdmin also provides authorization to limit certain actions (“delete”, “read”, “manage”) to objects (“User”, “Order”) by user.

In contrast, Django, written in Python, dates back to 2005 and is aimed at complex web applications. It provides an automatic admin interface which of course you can extend and customize, and mostly the same feature set (pagination, filtering, etc). Several high-profile web applications (Instagram, Pinterest, and Mozilla’s add-ons site) are powered by …
django rails conference clients
Security review with Kiel: Time to be paranoid.

By Josh Williams
June 14, 2012
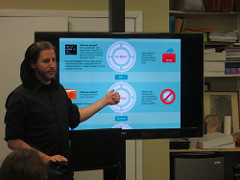
Interesting! From storing encrypted documents and occasionally signing email, to its usage in pgcrypto in Postgres, I’ve done a bit with PGP keys and public key cryptography. But Kiel’s been running through a quick tutorial on security topics, and some of the PKI components are more important than I originally realized. For instance, part of the security that the public key infrastructure provides is the web of trust, which defines how identities can be automatically trusted based on which keys have signed and trusted other keys. In fact, we’re about to have a key signing party…
In the mean time Kiel reminded us of some of the concerns surrounding other forms of PKI cryptography. The SSL infrastructure, for instance, relies on a set of provided certificate authorities which are assumed to be trusted, but may not be reliable. Plug-ins like Certificate Patrol can help, though. Of course also, as indicated by the recent collission attack, MD5 is no longer secure, and a number of CA’s still use it.
More generally, the security ninja reminded us of where security breaches can occur and how they can affect us, even if they happen in a space far outside our control. But there are …
security
You shall not pass! Preventing SQL injection

By Marina Lohova
June 14, 2012
Greg Sabino Mullane presented a few extremely useful techniques for preventing SQL injection. His advice was mostly based on his recent real-world experience.
The chunk of simple code was causing a potentially very dangerous security breach to the system:
[query … where order_number='[scratch order_number] and username='[session username]']This code can generate this SQL query:
select * from orders where order_number = '12345' and username = 'alice';Or this SQL query:
select * from orders where order_number=' '; delete from orders where id IS NOT NULL;This is a vulnerability, and you certainly do not want any random stranger to delete records from the “orders” table in your database.
The problem was solved in no time by escaping user input.
Here is Greg’s list of recommendations to make SQL injection impossible:
- Escape all user input passed to the database.
- Log extensively. If this system hadn’t logged SQL queries, they would have never noticed anything strange. They used tail_n_mail that tracks PostgreSQL logs and sends out emails whenever SQL exception occurs.
- Introduce fine-grained control for accessing and manipulating the database. …
database postgres security sql