Creating custom button graphics in Android

By Zed Jensen
June 7, 2013
In the Android timesheet app I’m working on, I have a scrollable layout of RadioButtons for the user to pick how much time they’ve spent on a project (see my earlier blog post about it), and for that I use custom button graphics to make it look nice. So, I’m going to show you how to do that with 9-patch PNGs and selector XML.
First, what’s a 9-patch PNG? A 9-patch is a special PNG image where you specify regions that can be stretched to make room for text. Android will automatically resize a 9-patch to best fit whatever contents you give it. The tool you need to create a 9-patch image is included in the Android SDK Tools, so download that if you haven’t already.
More information about 9-patch images can be found here.
Okay! I’ve got custom button graphics (72x72 for HDPI screens), drawn in the Gimp and saved in my project’s res/drawable-hdpi/ folder as button_selected.png and button_unselected.png:
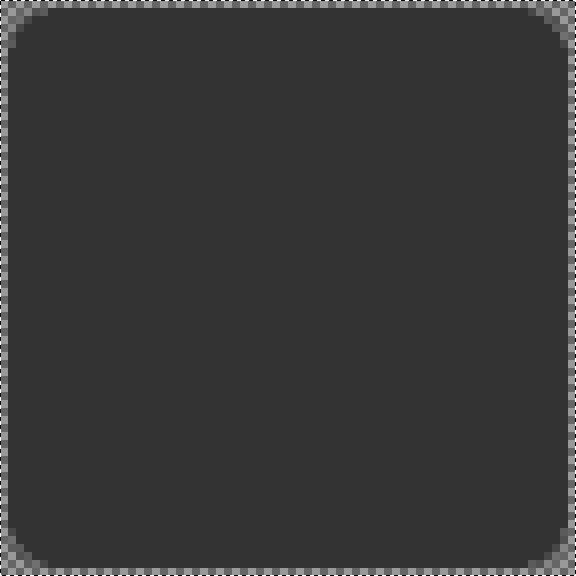
|
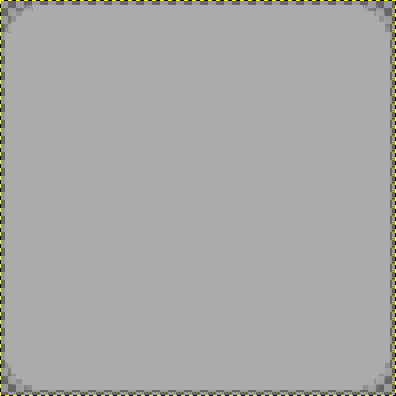
|
To convert it to a 9-patch, browse to the tools/ directory of the Android SDK and run draw9patch. This will open a window with a graphical editor on the left, and a button preview on the right. The editor window is for specifying which parts of the image will be stretched. The top and left edges show this, and the right and bottom edges show which parts of the image can contain the text you put in the button.
When you’ve finished with draw9patch, save the images in the same place, but with .9.png as the file extension (in this case, res/drawable-hdpi/button_selected.png will be res/drawable-hdpi/button_selected.9.png). Make sure to delete the old images, because Android R (the generated resource class) doesn’t use file extensions, so it can’t tell the difference between our two image types.
Now, let’s try making a button with our custom graphics. Add a Button to your Activity XML, like so:
res/layout/activity_main.xml
 <RelativeLayout xmlns:android="http://schemas.android.com/apk/res/android"
   xmlns:tools="http://schemas.android.com/tools"
   android:layout_width="match_parent"
   android:layout_height="match_parent"
   android:paddingBottom="@dimen/activity_vertical_margin"
   android:paddingLeft="@dimen/activity_horizontal_margin"
   android:paddingRight="@dimen/activity_horizontal_margin"
   android:paddingTop="@dimen/activity_vertical_margin"
   tools:context=".MainActivity" >
   <Button
     android:id="@+id/button1"
     android:layout_width="wrap_content"
     android:layout_height="wrap_content"
     android:background="@drawable/button_selected"
     android:onClick="doStuff"
     android:text="@string/hello_world" />
 </RelativeLayout>
Now, when we run it, it looks like this:
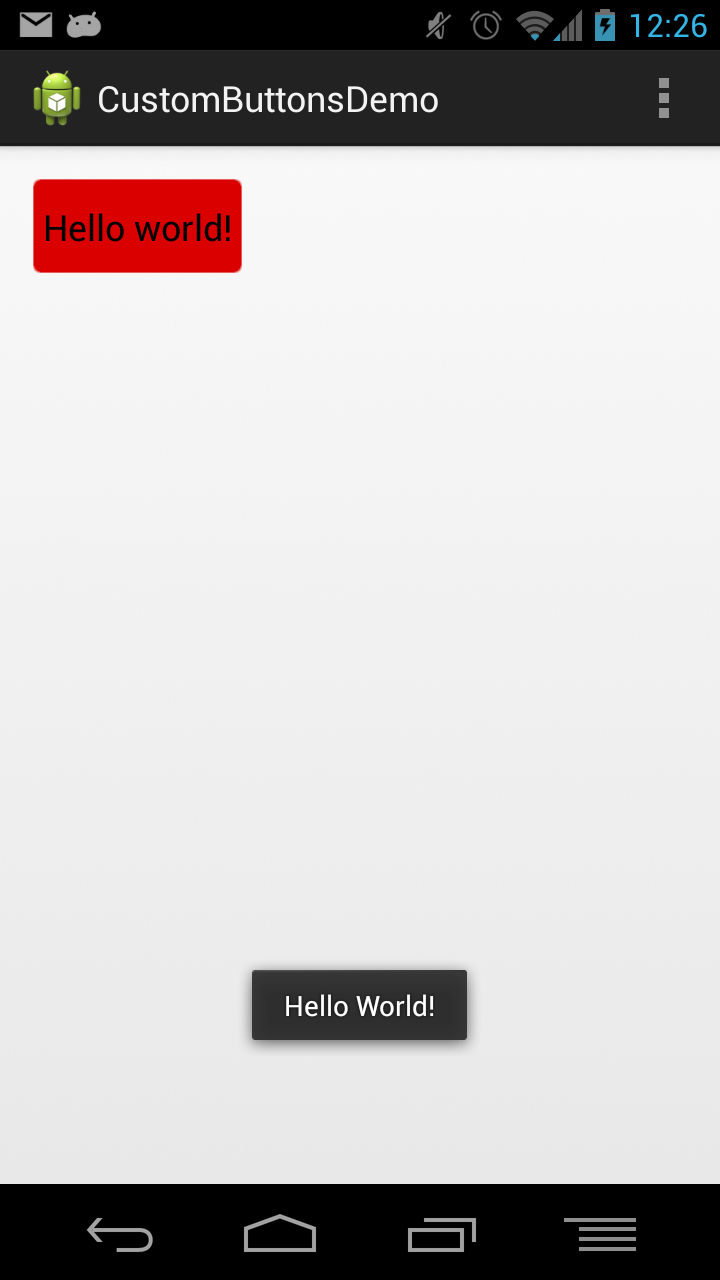
So we have our custom background working, but it’s the same (red) whether or not you’re pushing it. To use different images for different states, we can use selector XML. With ours, we just have two images, so it’s simple:
res/drawable/button_selector.xml
<?xml version="1.0" encoding="utf-8"?>
<selector xmlns:android="http://schemas.android.com/apk/res/android" >
<!-- When selected, use this image -->
<item android:drawable="@drawable/button_selected"
android:state_pressed="true" />
<!-- When not selected, use this image -->
<item android:drawable="@drawable/button_unselected"
android:state_pressed="false" />
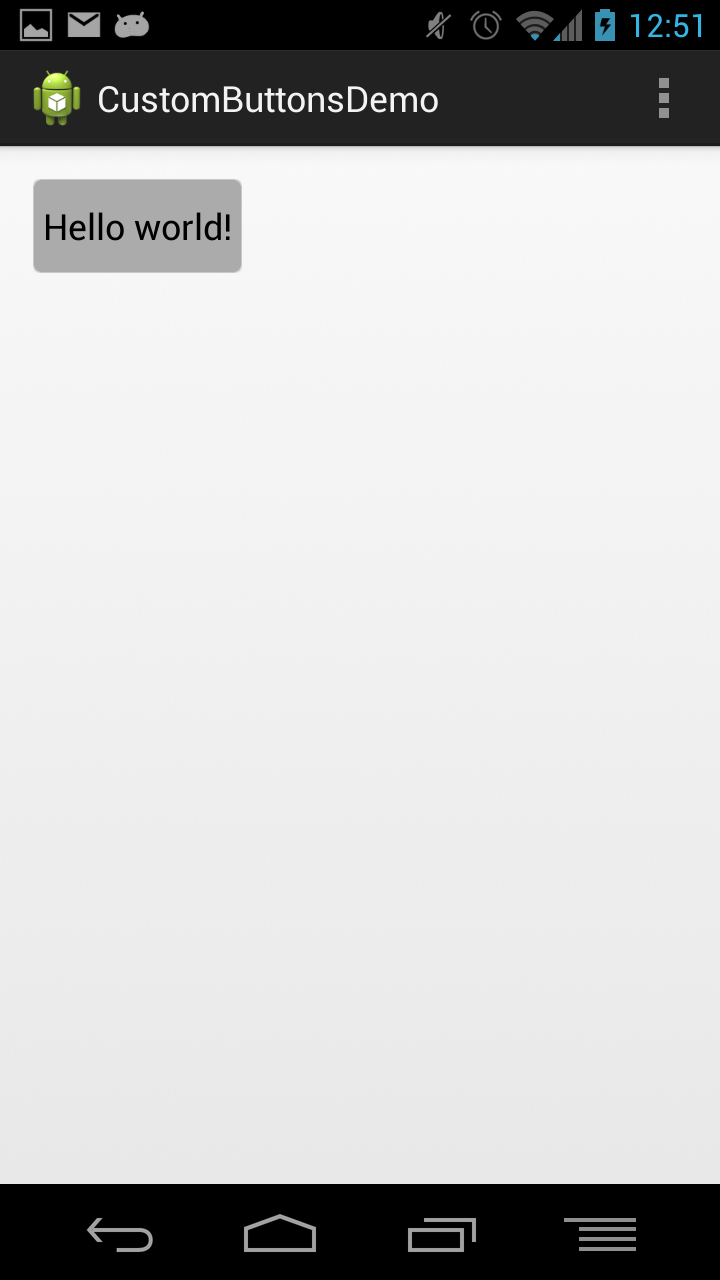
</selector>Now, instead of pointing our Button at an image directly, we can reference the XML instead:
res/layout/activity_main.xml
 <font color="#969696">android:layout_height="wrap_content"</font>
 android:background="@drawable/button_selector"
 <font color="#969696">android:onClick="doStuff"</font>
And when we run it, it looks great (assuming you like bright red)!
|

|
This project is on GitHub, if you’d like to download it and try some stuff.
Comments