Building and Hosting a Web App with .NET 6, Postgres and Linux

By Dylan Wooters
November 3, 2022

For well over a decade, working with the .NET framework meant running Windows. With the release of .NET Core in 2016, developers were granted the freedom to choose their OS, including Linux; no longer were we bound to Windows. However, few took the plunge, at least in my experience. Why? Well, we are comfortable with what we know, and afraid of what we don’t.
The truth is that building a .NET application on Linux is not that hard, once you get over a few minor bumps in the road. And there are many advantages to this approach, including flexibility, simplicity, and lower costs.
To demonstrate this, we will create a simple .NET MVC web application that connects to Postgres. Then, we will host the app on Linux with Nginx. Shall we start?
Preparing the database
First, you’ll want to install Postgres locally. If you’re using a Mac, this step is very easy. Simply install Postgres.app and you’ll be ready to go.
If you’re using Windows, check out the Windows Installers page on the Postgres website to download the latest installer.
Creating the projects
To develop .NET 6 apps, you will need to install Visual Studio 2022. Check out the Visual Studio downloads page for options for both Windows and Mac.
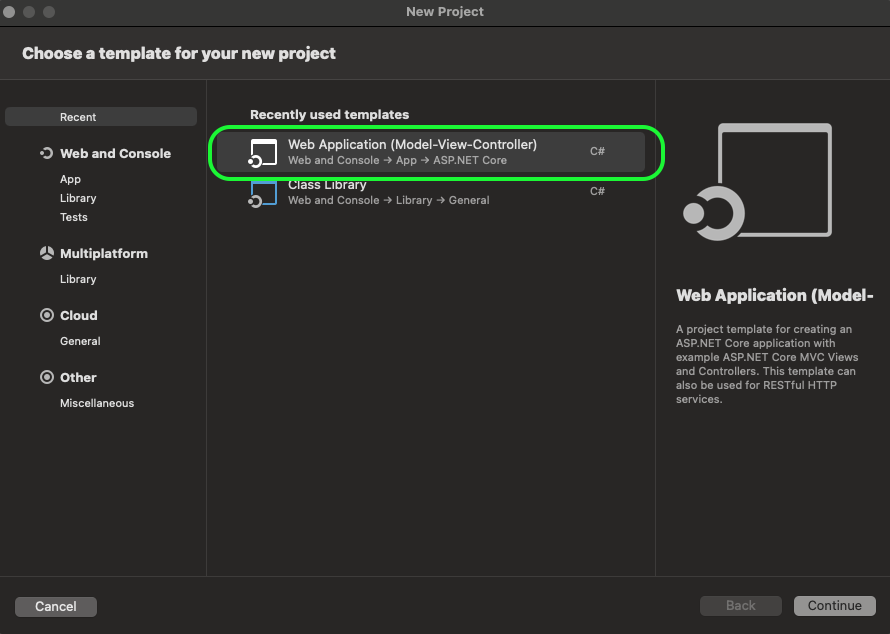
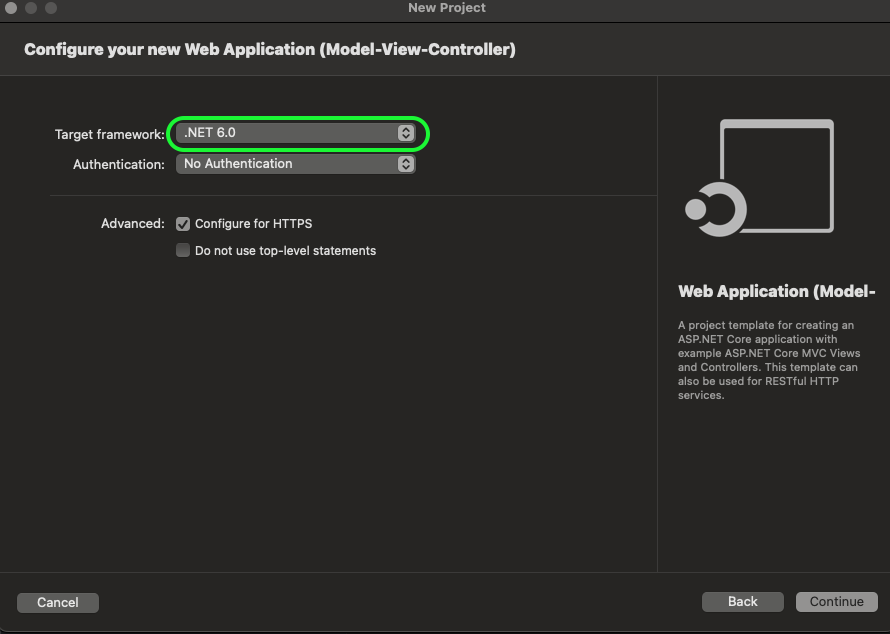
Start by opening up Visual Studio and creating a new Web Application (MVC) project, and choosing .NET 6.0 as the target framework. I’ve named my project “DotNetSix.Demo”. Here are the steps as they look in Visual Studio on my Mac.
On the final screen, go ahead and give your solution a name, and then click Create. Visual Studio should create a new solution for you, with a single web project. It will automatically create the necessary MVC folders, including Controllers, Models, and Views.
Setting up the database connection
For this demo, we’ll create a simple app that tracks books that you’ve recently read. Let’s go ahead and add a few simple models for the database: Author and Book. You can create these files in the pre-existing Models folder.
Book Model:
using System.ComponentModel.DataAnnotations;
using System.Text.Json.Serialization;

namespace DotNetSix.Demo.Models
{
    public class Book
    {
        public int Id { get; set; }

        public string Title { get; set; }

        [Display(Name = "Publish Date")]
        [DisplayFormat(DataFormatString = "{0:d}")]
        public DateTime PublishDate { get; set; }

        public Author? Author { get; set; }
    }
}
Author Model:
using System.ComponentModel.DataAnnotations;
using System.Text.Json.Serialization;

namespace DotNetSix.Demo.Models
{
    public class Author
    {
        public int Id { get; set; }

        public string FirstName { get; set; }

        public string LastName { get; set; }

        public ICollection<Book>? Books { get; set; }
    }
}
Next, add a folder named “Data” in your project. This will hold a few classes necessary for connecting to Postgres and creating the database. Create a new class file in the folder called AppDBContext.cs. This class will use EF Core to setup a database connection.
AppDBContext.cs:
using Microsoft.EntityFrameworkCore;
using DotNetSix.Demo.Models;

namespace DotNetSix.Demo.Data
{
	public class AppDBContext : DbContext
	{
		public AppDBContext(DbContextOptions<AppDBContext> options) : base(options)
		{
			Database.EnsureCreated();
			DBInitializer.Initialize(this);
		}

		public DbSet<Book> Books { get; set; }
		public DbSet<Author> Authors { get; set; }
	}
}
Then create another class file in the folder called DBInitializer.cs. This class will initialize the Postgres database with test data.
DBInitializer.cs:
using DotNetSix.Demo.Models;
namespace DotNetSix.Demo.Data
{
public static class DBInitializer
{
public static void Initialize(AppDBContext context)
{
// Look for any existing Book records.
if (context.Books.Any())
{
return; // DB has been seeded
}
var books = new Book[]
{
new Book
{
Title="Blood Meridian",
PublishDate=DateTime.Parse("04-01-1985"),
Author=new Author{FirstName="Cormac",LastName="McCarthy"}
},
new Book
{
Title="The Dog of the South",
PublishDate=DateTime.Parse("01-31-1979"),
Author=new Author{FirstName="Charles",LastName="Portis"}
},
new Book
{
Title="Outline",
PublishDate=DateTime.Parse("05-15-2014"),
Author=new Author{FirstName="Rachel",LastName="Cusk"}
},
};
context.Books.AddRange(books);
context.SaveChanges();
}
}
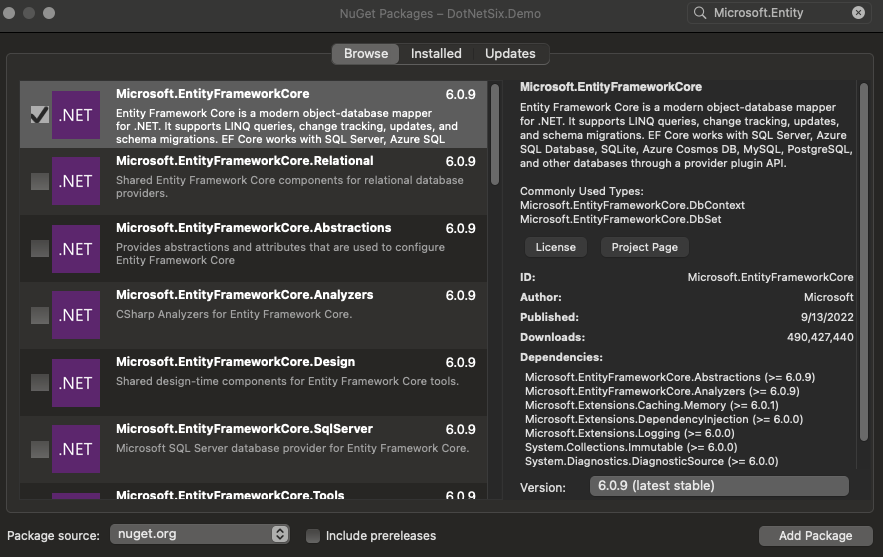
}At this point, you may notice some errors in your IDE. This is because we need to add two important Nuget packages: Microsoft.EntityFrameworkCore and Npgsql.EntityFrameworkCore.PostgreSQL. You can add these by right-clicking on the Dependencies folder and clicking “Manage Nuget Packages…”. Here’s how it looks in Visual Studio.
To round out the database connection, you’ll want to update your Program.cs file, adding the DB Context and the initializing the database. Also, you may encounter an error when you first run your application, citing incompatible dates between .NET and Postgres. To fix this, we will set the Npgsql.EnableLegacyTimestampBehavior to true.
Here is the complete Program.cs for your reference. Lines 7–8, 14, and 24–34 are what was added to the default Program.cs that is created as part of the web project.
Program.cs:
using DotNetSix.Demo.Data;
using DBContext = DotNetSix.Demo.Data.AppDBContext;
using Microsoft.EntityFrameworkCore;

var builder = WebApplication.CreateBuilder(args);

builder.Services.AddDbContext<DBContext>(options =>
    options.UseNpgsql(builder.Configuration.GetConnectionString("DemoDbContext")));

// Add services to the container.
builder.Services.AddControllersWithViews();

var app = builder.Build();
AppContext.SetSwitch("Npgsql.EnableLegacyTimestampBehavior", true);

// Configure the HTTP request pipeline.
if (!app.Environment.IsDevelopment())
{
    app.UseExceptionHandler("/Home/Error");
    // The default HSTS value is 30 days. You may want to change this for production scenarios, see https://aka.ms/aspnetcore-hsts.
    app.UseHsts();
}

using (var scope = app.Services.CreateScope())
{
    var services = scope.ServiceProvider;

    var context = services.GetRequiredService<DBContext>();
    // Note: if you're having trouble with EF, database schema, etc.,
    // uncomment the line below to re-create the database upon each run.
    //context.Database.EnsureDeleted();
    context.Database.EnsureCreated();
    DBInitializer.Initialize(context);
}

app.UseHttpsRedirection();
app.UseStaticFiles();

app.UseRouting();

app.UseAuthorization();

app.MapControllerRoute(
    name: "default",
    pattern: "{controller=Books}/{action=Index}/{id?}");

app.Run();
Note that the pattern in MapControllerRoute points to a new controller and action that we will create in the next section.
Updating the config file
The final task to connect to Postgres is to update the appsettings.json file with a connection string. Since I used Postgres.app to install Postgres, my connection string is simple. The username is the same as my Mac, and there is no password. Here is the full file:
{
  "Logging": {
    "LogLevel": {
      "Default": "Information",
      "Microsoft.AspNetCore": "Warning"
    }
  },
  "AllowedHosts": "*",
  "ConnectionStrings": {
    "DemoDbContext": "Host=localhost;Database=demo;Username=dylan"
  }
}
Displaying the test data
Now that we have the database connection setup, let’s make some small changes to the controllers and views in order to see the data in Postgres.
Add a new file in the Controllers folder called BookController.cs. This file provides an Index controller action that queries the book data from Postgres using EFCore.
Controllers/BooksController.cs:
using Microsoft.EntityFrameworkCore;
using Microsoft.AspNetCore.Mvc;
using DotNetSix.Demo.Data;

namespace DotNetSix.Demo.Controllers
{
    public class BooksController : Controller
    {
        private readonly AppDBContext _context;
        private readonly IConfiguration _config;

        public BooksController(AppDBContext context, IConfiguration config)
        {
            _context = context;
            _config = config;
        }
        // GET: Papers
        public async Task<IActionResult> Index()
        {
            var appDBContext = _context.Books.Include(b => b.Author);
            return View(await appDBContext.ToListAsync());
        }
    }
}
Now create an accompanying view. Add a “Books” folder under Views, and then add a new file to the Books folder called Index.cshtml. This view will receive the data from the controller and display a simple table of recently read books.
Books/Index.cshtml:
@model IEnumerable<DotNetSix.Demo.Models.Book>
<head>
<meta charset="utf-8" />
<meta name="viewport" content="width=device-width, initial-scale=1.0" />
<link rel="stylesheet" href="./css/CreateStyleSheet.css" asp-append-version="true" />
<link rel="stylesheet" href="~/css/site.css" asp-append-version="true" />
</head>
@{
ViewData["Title"] = "Index";
}
<h1>Books Recently Read</h1>
<div class="table-wrapper">
<div class="table-container">
<table class="table">
<thead>
<tr>
<th>
@Html.DisplayNameFor(model => model.Title)
</th>
<th>
@Html.DisplayNameFor(model => model.Author)
</th>
<th>
@Html.DisplayNameFor(model => model.PublishDate)
</th>
</tr>
</thead>
<tbody>
@foreach (var item in Model)
{
<tr>
<td>
@Html.DisplayFor(modelItem => item.Title)
</td>
<td>
@{
var authorFullName = item.Author.FirstName + " " + item.Author.LastName;
@Html.DisplayFor(modelItem => authorFullName);
}
</td>
<td>
@Html.DisplayFor(modelItem => item.PublishDate)
</td>
</tr>
}
</tbody>
</table>
</div>
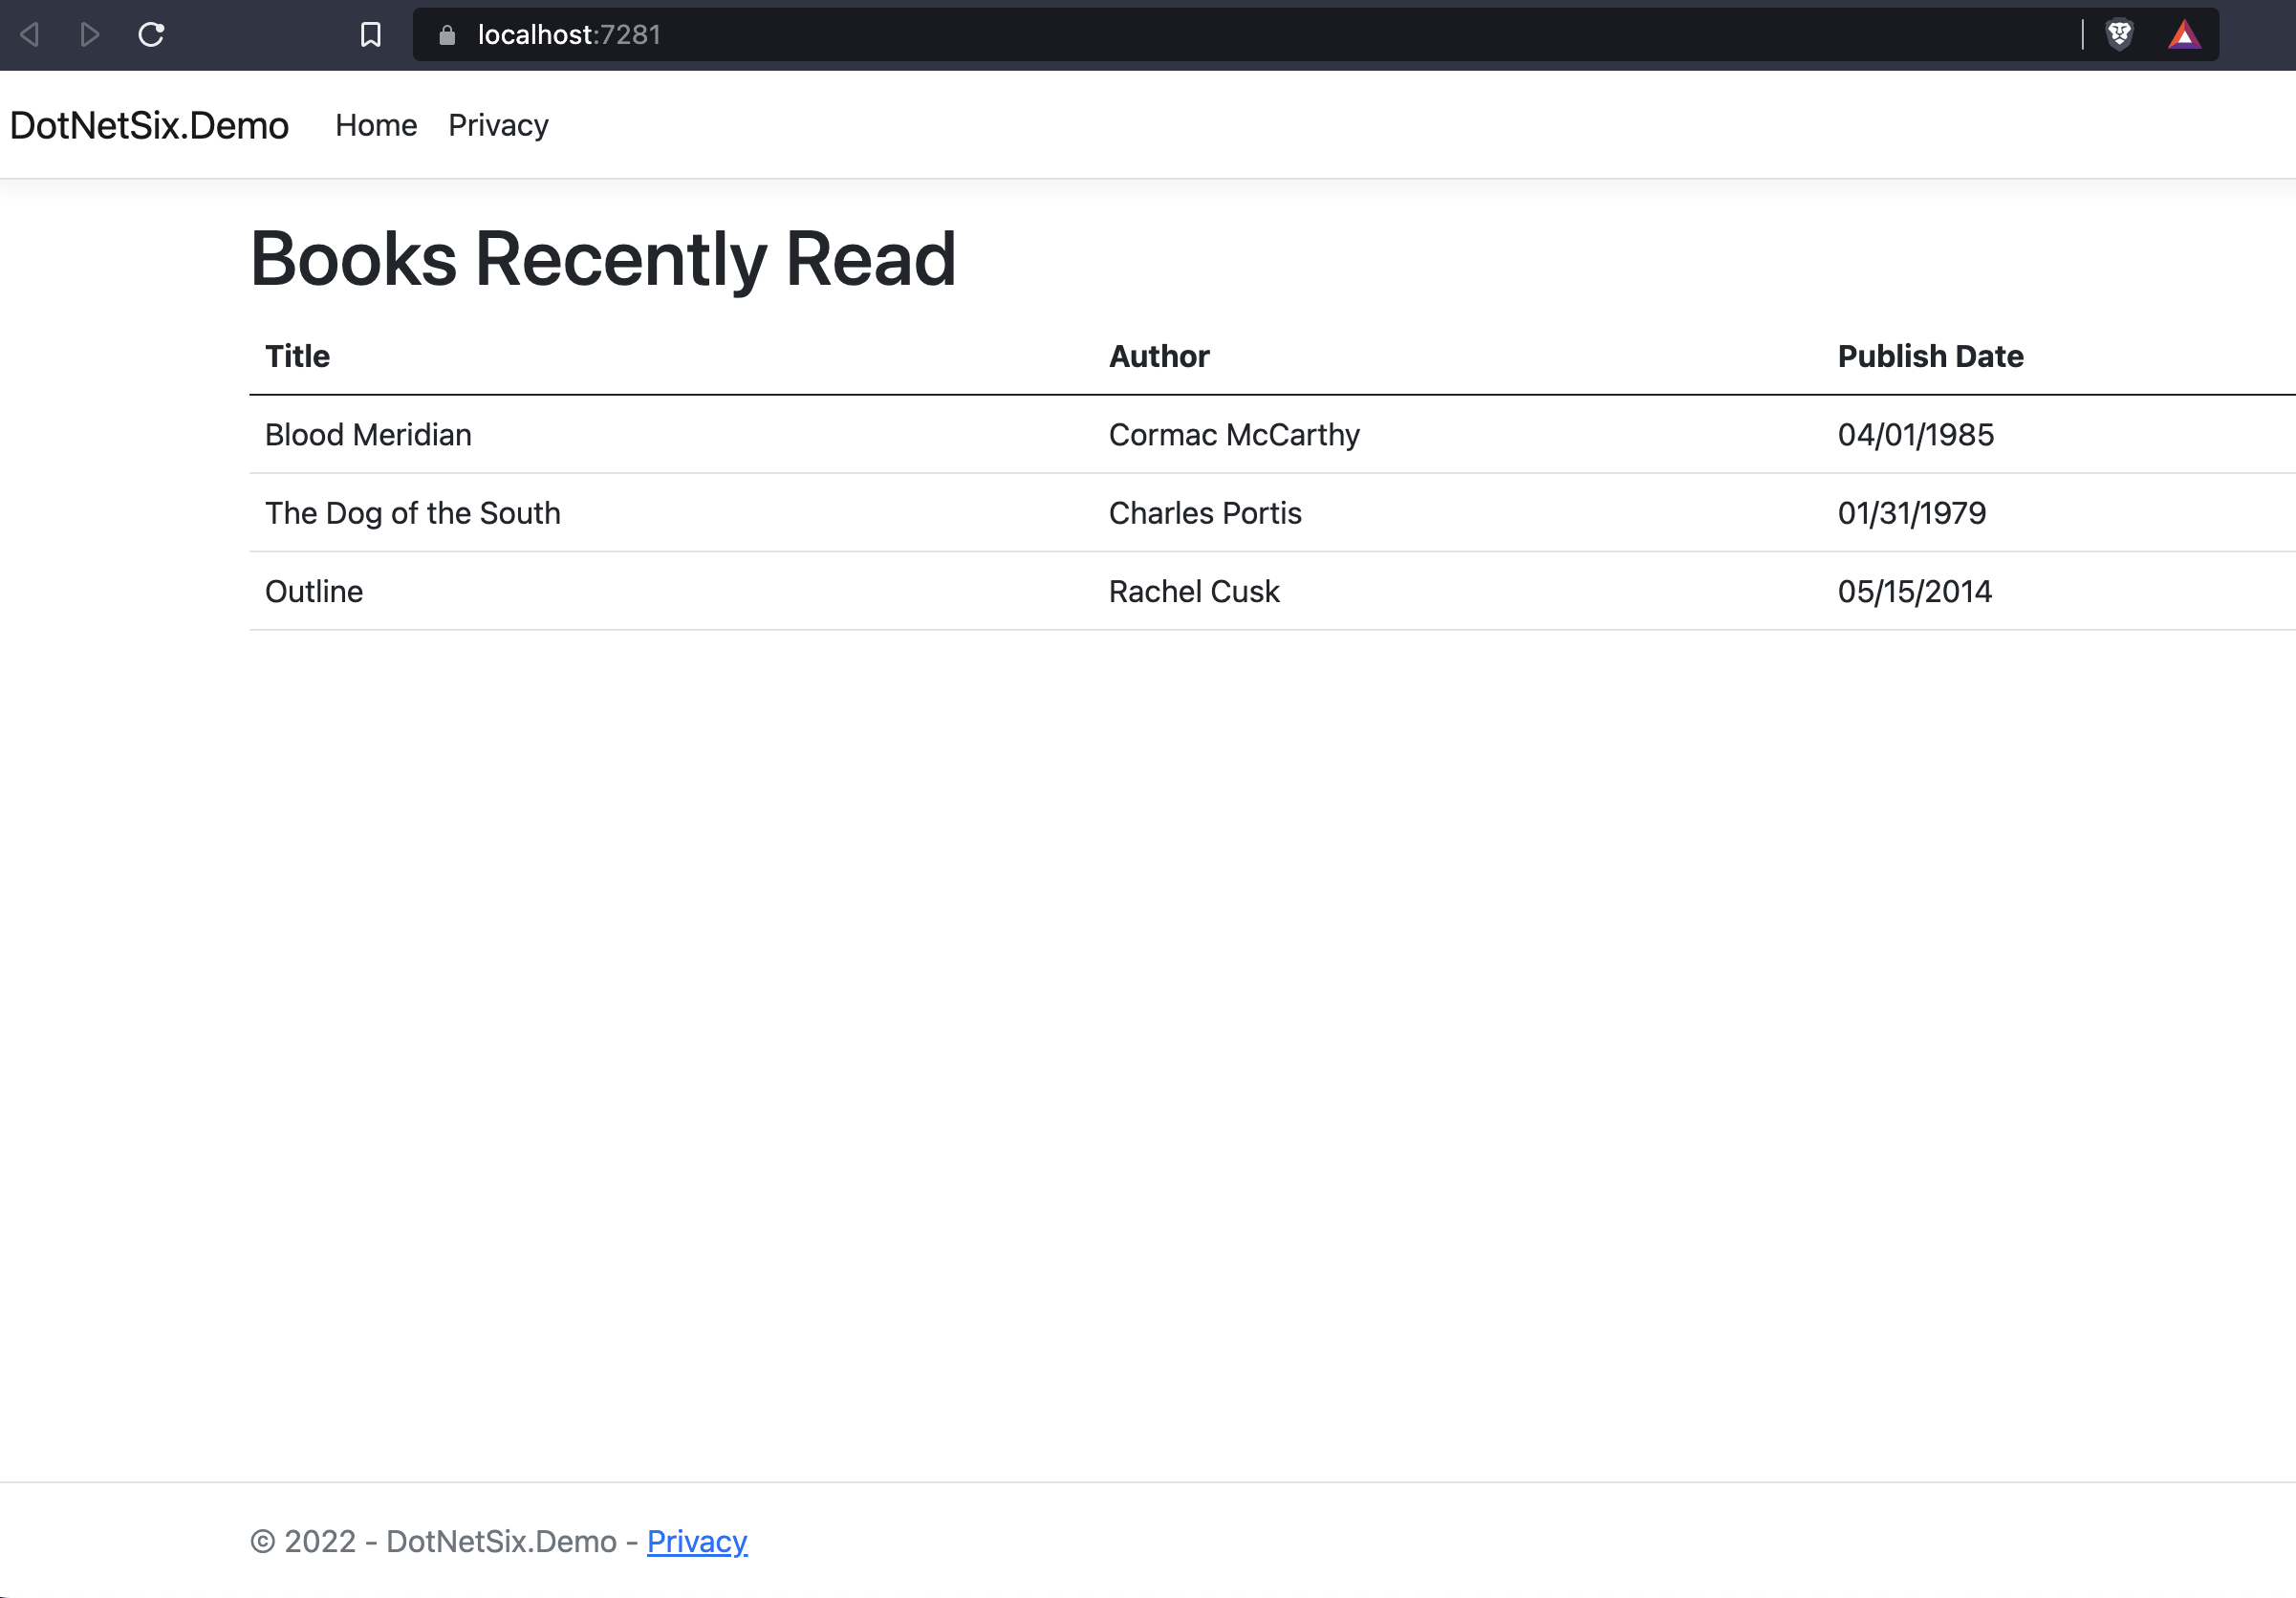
</div>With the above files in place, you are now ready to run your app. Go ahead and run the project in Visual Studio. You should then see the Books index page in your browser. Hopefully it looks like this:
Installing and configuring Nginx
Just a heads up that the following sections borrow from the MSDN article on hosting ASP.NET Core on Linux. Be sure to check out the article if you’re in need of more info or additional help!
Now that we have the application running, we can prepare to deploy it to a Linux server. The first step in preparing your server to host the application is to install Nginx. Nginx will act as a reverse proxy to your .NET application running on localhost. To install Nginx, use the appropriate package manager for your Linux distro. For example, if you’re running Debian, use apt-get to install Nginx:
sudo apt-get update
sudo apt-get install nginx
You can verify the installation by running sudo nginx -v, which should display the version. Finally, start Nginx using the command sudo service nginx start.
Once Nginx is installed, you’ll need to configure it to host the .NET Core application. Go ahead and create a new Nginx configuration file in /etc/nginx/conf.d. In our case, we’ll name it dotnetsixdemo.conf. Within this configuration file, we’ll do a few things:
- Redirect HTTP traffic to HTTPS.
- Use HTTPS with an SSL cert installed by Let’s Encrypt certbot.
- Configure Nginx to forward HTTP requests to the .NET application, which by default will run locally at
http://127.0.0.1:5000.
Here is what our configuration file ends up looking like.
server {
    if ($host = dotnetsixdemo.org) {
        return 301 https://$host$request_uri;
    } # managed by Certbot

    listen        80;
    listen       [::]:80;
    server_name  dotnetsixdemo.org;
    return 404; # managed by Certbot
}

server {
    server_name  dotnetsixdemo.org;

    location / {
        proxy_pass         http://127.0.0.1:5000;
        proxy_http_version 1.1;
        proxy_set_header   Upgrade $http_upgrade;
        proxy_set_header   Connection keep-alive;
        proxy_set_header   Host $host;
        proxy_cache_bypass $http_upgrade;
        proxy_set_header   X-Forwarded-For $proxy_add_x_forwarded_for;
        proxy_set_header   X-Forwarded-Proto $scheme;
    }

    listen [::]:443 ssl; # managed by Certbot
    listen 443 ssl; # managed by Certbot
    ssl_certificate /etc/letsencrypt/live/dotnetsixdemo.org/fullchain.pem; # managed by Certbot
    ssl_certificate_key /etc/letsencrypt/live/dotnetsixdemo.org/privkey.pem; # managed by Certbot
    include /etc/letsencrypt/options-ssl-nginx.conf; # managed by Certbot
    ssl_dhparam /etc/letsencrypt/ssl-dhparams.pem; # managed by Certbot
}
Final application adjustments
Before we publish the app, we need to make a small change to the Program.cs file. This will allow redirect and security policies to work correctly given the Nginx reverse proxy setup.
using Microsoft.AspNetCore.HttpOverrides;

...

app.UseForwardedHeaders(new ForwardedHeadersOptions
{
    ForwardedHeaders = ForwardedHeaders.XForwardedFor | ForwardedHeaders.XForwardedProto
});
Additionally, you’ll want to update your appsettings.json file to reflect your target environment, in particular the connection string for Postgres.
Time to publish!
We are now ready to publish the app to the server. In the command prompt, navigate to the root directory of the project, and run the following command.
dotnet publish --configuration releaseThis will build the app and create a new output folder at /your-project-root/bin/Release/net6.0/publish.
At this point, all that’s left to do is to copy the contents of the publish folder to the server. You can do this using a variety of tools including SCP, SFTP, etc.
Running the app on the server
Once you’ve copied the app to the server, you can start the app by navigating to the directory where the app was copied, and then running the command dotnet [app_assembly].dll. For our demo app, the target DLL would be DotNetSix.Demo.dll.
This will run the app at http://127.0.0.1:5000, and it should now be accessible via the URL that you configured using Nginx. Based on the Nginx configuration provided above, that would be https://dotnetsixdemo.org. Go ahead and test your site in the browser to make sure it is accessible and the reverse proxy is working properly.
Using systemd to run the app as a service
As you might have noticed, there are a few problems with running the app directly using the dotnet command above. The app could easily stop running if the server encounters an issue, and the app is not monitorable. To fix this, let’s use systemd to run and monitor the app process.
Create a new service definition file by running sudo nano /etc/systemd/system/dot-net-six-demo.service and entering the following.
[Unit]
Description=Dotnet Six Demo App

[Service]
WorkingDirectory=/home/dotnetsix/publish
ExecStart=/usr/bin/dotnet /home/dotnetsix/publish/DotNetSix.Demo.dll
Restart=always
# Restart service after 10 seconds if the dotnet service crashes:
RestartSec=10
KillSignal=SIGINT
SyslogIdentifier=dotnetsixdemo
User=dotnetsix
Environment=ASPNETCORE_ENVIRONMENT=Production
Environment=DOTNET_PRINT_TELEMETRY_MESSAGE=false

[Install]
WantedBy=multi-user.target
Note that the paths in WorkingDirectory and ExecStart should match where you copied the application build files on the server, as part of the publish step above.
Also, the User option specifies the user that manages the service and runs the process. In our example, this is the dotnetsix user. You’ll want to create your own user, and importantly grant that user proper ownership of the application files.
To finalize the new service, save the service file and then start the service with sudo systemctl enable --now dot-net-six-demo.service. This will run the app now in the background via systemd and ensure it also starts up after the next reboot.
Viewing logs
Since we are now running the app via systemd, we can use the journalctl to view logs. To view the logs for the demo app, you would run the command sudo journalctl -fu dot-net-six-demo.service.
Wrapping up
That is all! We now have a .NET application running on our Linux server, hosted with Nginx via a reverse proxy, and connecting to a local PostgreSQL database. As we can see, there are several steps to take into account, but the process itself is not particularly complex.
See also my co-worker Kevin Campusano’s blog post for more tips on using .NET with PostgreSQL.
Have you had problems working with .NET and Linux? Do you have any alternative solutions to the ones proposed here? We await your comment.
Comments