Integrating Contentful with NuxtJS

By Juan Pablo Ventoso
October 7, 2022

Some time ago, I had the opportunity to collaborate on a cool NuxtJS project. I’m still somewhat new to Vue.js and its related frameworks, meaning I’m discovering exciting new tools and third-party services that can be integrated with them every time a new requirement appears. And there is a particular concept that I heard of, but never worked with until this project: using a Headless CMS to deliver content.
Essentially, a headless CMS permits creating a custom content model, making it accessible through one (or several) APIs that we can query, allowing us to choose whatever presentation layer we prefer to handle the display. This approach decouples the content management part (the “body”) of a project from the design, templates, and frontend logic (the “head”), becoming particularly useful when we have several application types that will interact with the same data, such as a website, a mobile app, or an IoT device.
With that in mind, let’s have a quick look at Contentful: It’s a headless CMS that is offered under the concept of content-as-a-service (CaaS), meaning the content is delivered on demand from a cloud platform to the consumer by implementing an API or web service.
Pricing
For individual or small websites, the free option should be sufficient. It has a limit of 5 users and a size limit of 50MB for assets, and the technical support area is disabled. The next option (Medium, $489/month) also includes an additional role (author), additional locales, and the possibility to create up to ten different user accounts. The asset size is also extended up to 1000MB.
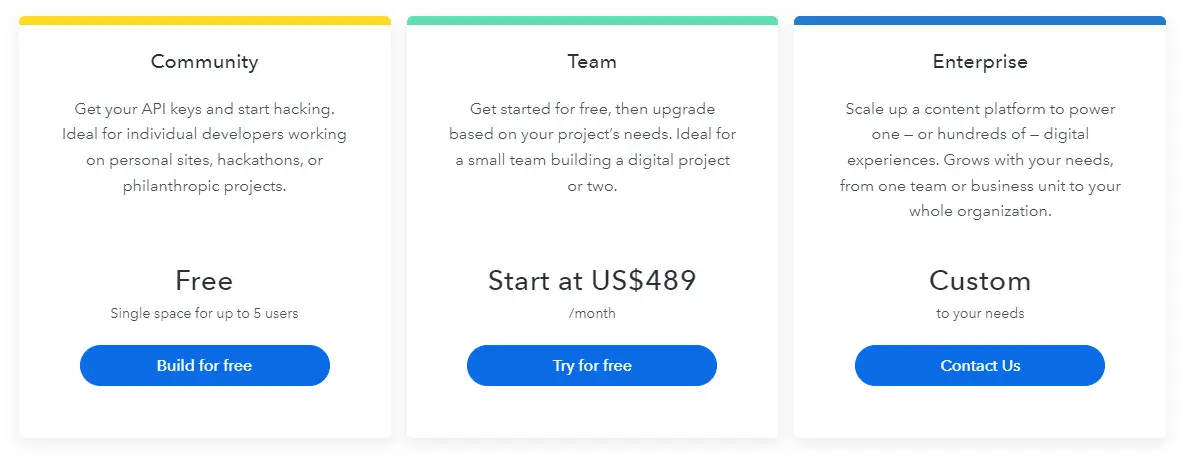
You can review the full pricing details on Contentful’s website.
Creating content
In order to start creating content, there are two essential steps:
-
We will need to set up a new space. A space is an area where the content will be grouped into a single project.
-
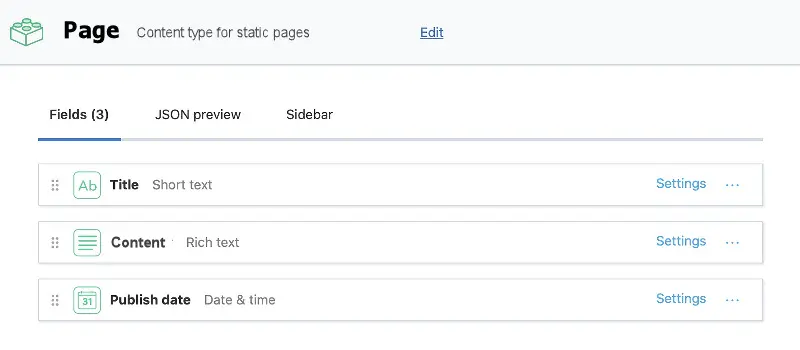
We need to define the model for our content. The model is the type and structure that our content will have. For the integration below, we will need a new “Page” model, that will contain two fields to save the information that we need for a static page:
titleandcontent. We can also include apublishDatefield, just to know when each page was created.
Integration
With our space created and our content model ready, it’s time to add Contentful to our NuxtJS app. The integration process is quite simple, thanks to the JavaScript client library provided by Contentful. The library is based on the axios client, allowing it to run on the client as well as on the server, for SSR. If we have npm set up, we can add it to our project by running:
npm install --save contentfulThe most efficient way to use it across our app and have it ready for client and server-side rendering is to declare a new plugin. All we need to do is create a new file named contentful.js under our project’s plugins folder:
const contentful = require('contentful')

const config = {
  space: process.env.CONTENTFUL_SPACE_ID,
  accessToken: process.env.CONTENTFUL_API_ACCESS_TOKEN,
}

module.exports = {
  createClient() {
    return contentful.createClient(config)
  },
}
Next, we need to add the new environment variables to our project’s .env file. The values that we need to provide are our space ID and the access token for querying the API:
CONTENTFUL_SPACE_ID={our_space_id}
CONTENTFUL_API_ACCESS_TOKEN={our_access_token}
We’re all set! Now, we have our plugin ready to use. One neat extra step that we did for this particular project is creating a ContentfulPage component that will automatically pull the contents from Contentful based on the given entry ID. By doing that, we can simply use the component in all the static pages that we have on our website.
First, let’s create the component, containing a simple wrapper for the template section, and an entryId property that we will use to query the API. We can save it under ~/components/ContentfulPage.vue:
<template>
  <div :id="entryId">
    <p v-if="$fetchState.pending">Loading...</p>
    <div v-else>
      <h1>
        {{ page.fields.title }}
      </h1>
      <div class="page-content" v-html="$md.render(page.fields.content)" />
    </div>
  </div>
</template>

<script>
  import { createClient } from '~/plugins/contentful'
  const contentful = createClient()

  export default {
    name: 'ContentfulPage',
    props: {
      entryId: {
        type: String,
        required: true,
      },
    },

    data() {
      return {
        page: {},
      }
    },

    async fetch() {
      this.page = await contentful.getEntry(this.entryId)
    },
  }
</script>
This component will asynchronously fetch the entry from Contentful, and display a “loading” legend while it does so. Once the query is complete, the content will be shown inside the div element with the page-content class. The component expects the returned page to have at least two attributes: title and content.
With the new component added to our project, we are ready to create a page (for example, index.vue) that uses it to render our content like this:
<template>
  <div>
    <contentful-page entry-id="{index_entry_id}" />
  </div>
</template>

<script>
  import ContentfulPage from '~/components/ContentfulPage'
  export default {
    components: {
      ContentfulPage,
    },
  }
</script>
All we need to do is get the entry ID from the content we created in Contentful, pass it to the entry-id parameter of the component, and that’s it! Our content will be fetched from the API and displayed to the user. It will also work when rendering on the client, as well as for SSR.
Other content types
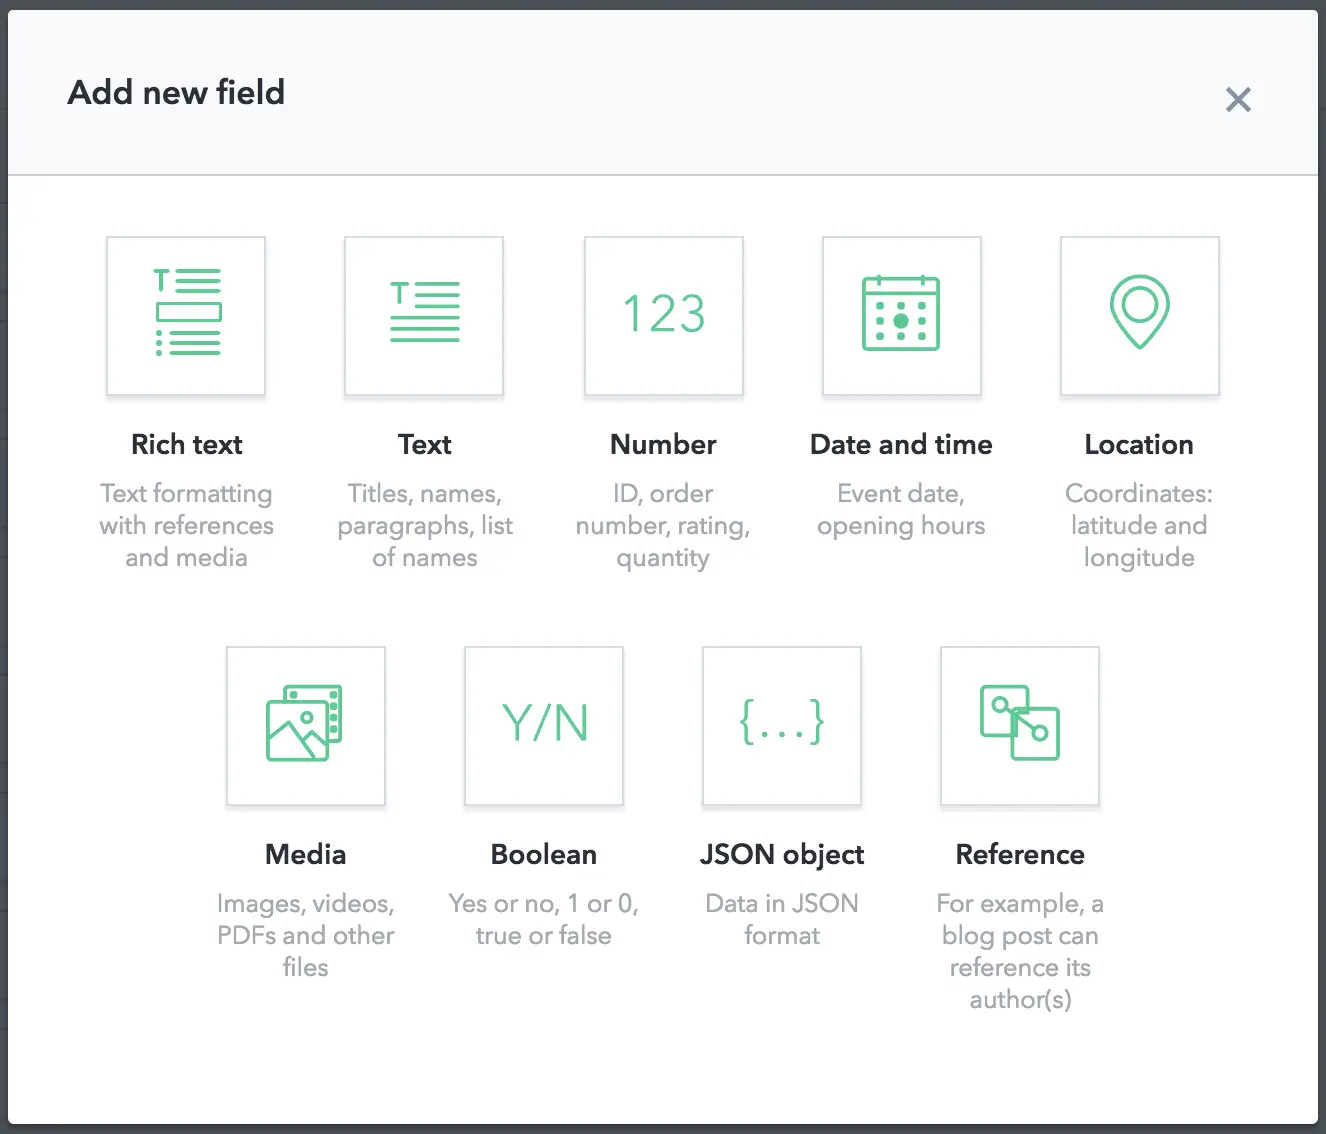
Of course, we’re not restricted to using this service to deliver static pages: We can store and deliver blog posts, listings, events, geolocation information, documents, and more. We have several field types that could be used for our content model, including location, media (images, videos), links, or JSON, among others. See the data model section of their official documentation for reference.
Alternatives
There are several alternatives to Contentful out there: Prismic CMS or GraphCMS — which is based entirely in GraphQL — are the most popular. There are also downloadable products, like SilverStrap CMS. Their pricing plans are varied, but all of them offer a free community plan for starters or small websites.
Have you used any other headless CMS not listed here? We would love to hear your comments!
Comments