Automating reading the screen and interacting with GUI programs on X Window System

By Constante “Tino” Gonzalez
March 10, 2022

A while back, Google Earth made some changes to the layer select menu in the sidebar, which broke a program that toggles the 3D imagery on VisionPort systems. These run the X Window System (also known as X11, or just X) on Ubuntu Linux.
In looking for a workaround, I found that shell scripts can fully interact with GUI apps using the xdotool, xwd, and convert commands. This script would send a series of keystrokes to open the sidebar, navigate the layers menu, and toggle the box for the 3D buildings layer.
Changing the series of keystrokes to match the new number of layers should have fixed the issue, but there was more to this script. The next part of the script would take a screenshot, crop the checkbox, and compare it to saved files of other cropped boxes. Fixing this part of the script required correcting the positions of the captures and replacing the reference files with ones that pictured the updated Google Earth checkbox states.
Here I will explain how the script works and how we changed it so that it no longer needs these reference files and ultimately runs faster.
Overview of how the script works
xwd takes a screenshot of a window on the screen.
convert transforms the pixel data in the image into lines of text with location and color that we can easily search and read with grep, sed, or similar.
xdotool interacts with GUI windows. It can find, focus, and send keystrokes and mouse commands, among other things.
Preparing
To illustrate, let’s make a simple case of looking for a button and clicking on it from the terminal. We will skip making a script for this example as most of this can be accomplished on a single command line with xdotool. The commands here are for the Ubuntu operating system and may be a little different on other systems.
If you would like to try it as you read along, you will need an image editor to quickly look up pixel positions and colors. GIMP works great and is pictured in this example.
You will also need to install some packages. On a terminal:
sudo apt install xdotool x11-apps imagemagickWorking through an example
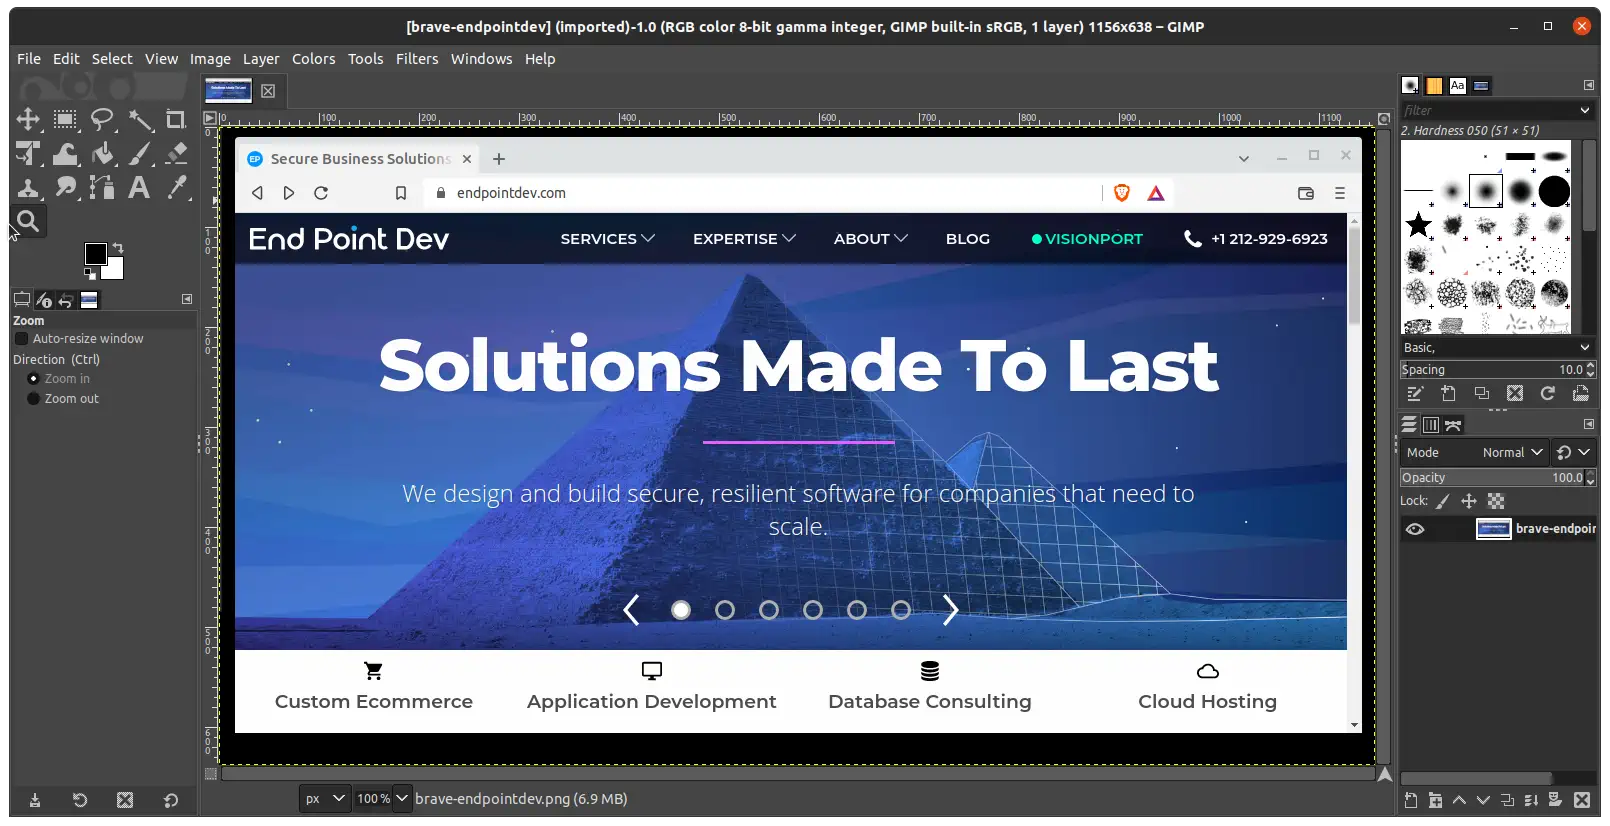
1. To know which window to interact with, xdotool needs to know the window’s name. So let’s open a browser and navigate to endpointdev.com and then note the page title in the browser tab, “Secure Business Solutions”:

2. On the terminal:
xdotool search "secure business solutions"

Defaulting to search window name, class, and classname
69206019
This reminds us that it can search for windows in many ways and returns a window ID, in this example 69206019. Search results also get stored on the “window stack” and can be referenced as %1, %2, and so on.
3. Use this ID in the next terminal command. If you have more than one ID, you may need to refine your search:
xwd -id 69206019 -out endpointdev.xwdxwd creates a screenshot of the window that we want to see and saves it to the filename passed with the -out argument.
4. Then run a convert command:
convert endpointdev.xwd endpointdev.txtBy converting the image to text we can use any text tools like grep, cut, diff, or sed to find colors and coordinates on the images. We just need to know how to read it. The first few lines of the endpointdev.txt file look like this:
# ImageMagick pixel enumeration: 1156,638,65535,srgb
0,0: (11565,11565,11565)  #2D2D2D  srgb(45,45,45)
1,0: (10537,10537,10537)  #292929  grey16
2,0: (4369,4369,4369)  #111111  srgb(17,17,17)
3,0: (0,0,0)  #000000  black
4,0: (0,0,0)  #000000  black
5,0: (0,0,0)  #000000  black
Each line represents a pixel:
- The first two numbers are the x and y positions,
- in parentheses are the decimal color values per RGB channel,
- after
#is the HTML RGB color value which we will be using in our example, - and last the
srgbcode or name for the color.
We can use any of these color codes for matching. To decode these color codes visually we use an image editor.
5. Open the endpointdev.xwd file that we created in an image editor. Here we will use GIMP:
6. Select the zoom tool (see the mouse pointer in the screenshot above to know which that is). Use it to draw a box around the VisionPort button or something else that we want our script to “see” and zoom in on it:
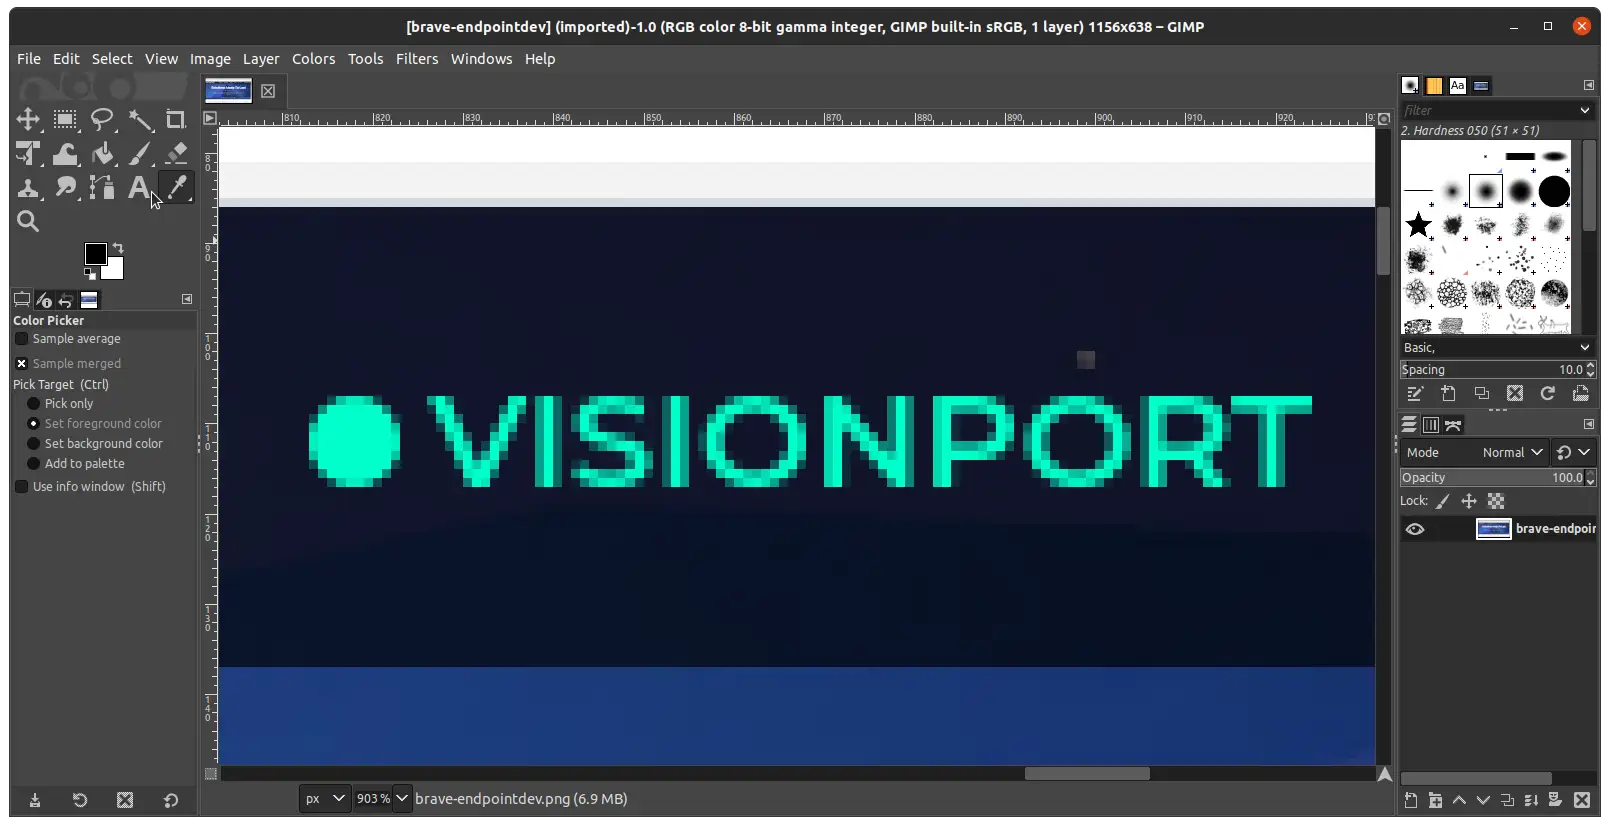
7. Next, use the color picker tool (check the mouse pointer in the screenshot above for this tool) and click on the circle, or any other spot you want to pick for your script:

8. Notice by the pointer above how the color picker box changed colors. Now clicking on this box brings up a new window:
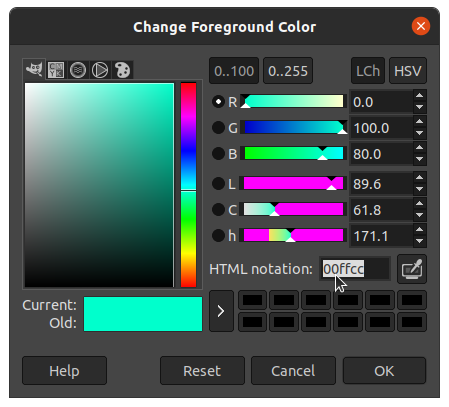
Here we can find the HTML notation of the color we selected: 00ffcc (see the pointer in the screenshot above). We’ll call this “VisionPort button green”.
In my experience even things that look like the same color can have a unique pixel caused by a different shade on an edge or something else. Our old script checked a 25×25 pixel image to guarantee what it had was a check mark, but finding one of these colors unique enough to use as a key ensures that the check mark is next to it, so we can check the state on a single pixel too.
If one pixel is not unique enough we can look for a pattern of pixels and still store them as variables on the script to avoid saving and comparing files.
9. With this HTML hex RGB color code we go back to the terminal and search our file for it. Use capital letters for the color or else grep -i to make it case-insensitive:
grep 00FFCC endpointdev.txtThis will return a list of pixels with this color, such as:
827,107: (0,65535,52428)  #00FFCC  srgb(0,255,204)
839,107: (0,65535,52428)  #00FFCC  srgb(0,255,204)
853,107: (0,65535,52428)  #00FFCC  srgb(0,255,204)
878,107: (0,65535,52428)  #00FFCC  srgb(0,255,204)
883,107: (0,65535,52428)  #00FFCC  srgb(0,255,204)
10. For our purpose we can use any of those, so let’s try the first result. In the terminal run:
xdotool windowfocus 69206019 mousemove 827 107 click 1Your browser should then follow the link to visionport.com and load that website’s home page in your browser:

Did it work for you too? 🎉
That is all we need to build a script that interacts with GUI apps. If you would like to practice, take another screenshot and use xdotool to look for and click the “contact” button. 😁
How it works in a little more detail
The last xdotool command chain’s steps are:
windowfocus 69206019selects the ID that we searched for before,mousemovemoves the mouse pointer to the specified absolute coordinates, in this case the first pixel that matched the VisionPort button green color in theendpointdev.txtfile,click 1sends a mouse left click at the mouse’s current position.
Updating our script to use this instead of the series of keystrokes took some investigation and testing but made it faster in the end.
One of the issues to overcome was that the VisionPort custom layers capture xdotool’s window and mouse commands, so to target a specific window on the VisionPort, we have to offset the coordinates of our commands according to the position of the window on the screen.
Chaining xdotool actions
Here is another example of chaining several xdotool actions in a single command:
xdotool search "secure business solutions" windowfocus key Alt+F4That should close the browser window on most systems. If any of these commands failed, try replacing windowfocus with windowactivate; some xdotool commands depend on system support. Check xdotool’s manual for more options.
Command chain steps:
search <name>: Finds windows with that name, and stores the results in the “window stack” memory.windowfocus: Selects a window. Defaults to the first window from xdotool’s window stack; no need to supply the window ID if following a search.key Alt+F4: Sends the Alt+F4 keypress to the selected window. The+here means at the same time. Use spaces to separate a list of keys. By default there is a delay between keystrokes, and that is configurable.
Use the standard Unix sleep <seconds> in between other xdotool commands that may need delays.
xdotool takes a list of commands naturally, which can even be stored and read directly from text files. They can also be executed directly by making the file executable (with chmod +x) and setting the shebang line (first line of the file) to:
#!/usr/bin/xdotoolSuch executable scripts are commonly named using a .xdo extension.
Fine-tuning
While we can convert the whole screenshot to text and search on it like we did in the example above, the files are large, so cropping a smaller section before converting to text is recommended.
We can crop a section, save it to a file and compare it to another file, like our script did. We can also crop an image to 1 pixel wide across a menu bar if that’s what we’re aiming for, or a column of icons in our case, to find all the button positions without much overhead. Doing this instead of only checking the area hard-coded for a check box gave our script the ability to find the check box based on the icon next to it when changing positions due to other tabs expanding on the menu.
It is also possible to use the multiprocessing features of shell scripts: When working on multiple window screenshots or crops, we can have them all run at the same time using the & operator at the end of the commands, then use the wait command to let them all finish before performing the text searches. These are very fast on small cropped files.
Learning more
The xdotool documentation has information on other ways to identify and interact with windows and is a great place to go to learn more.
development testing automation graphics
Comments