Building a web app using Rails 8 and Vue 3 with Vite

By Kevin Campusano
June 8, 2026

Photo by Jonathan Perlin, 2022.
When it comes to frontend development, Rails 8 offers many great options.
There’s of course Hotwire: the new little-to-no-JavaScript frontend framework that leverages server-side rendering, WebSockets, and Stimulus to deliver rich, SPA-feeling web apps.
For serving static assets to web browsers, including JavaScript, Rails has the Asset Pipeline, which helps with fingerprinting, caching, and exposing assets.
By default, the Rails Asset Pipeline is configured to use Import Maps (with the importmap-rails gem), which allows easy delivery and loading of JavaScript as modules, without the need for bundling and/or transpiling. That means that your development environment and build pipeline do not need Node.js, Yarn, or any other package manager or bundler. Rails takes care of everything using standard HTML features supported by all major browsers.
Hotwire works beautifully with this setup.
Now, if you need bundling and transpiling, the Rails Asset Pipeline can be configured to do so too. Instead of importmap-rails, you’d be installing the jsbundling-rails gem. This way you can use bundlers like Bun, esbuild, Rollup.js and Webpack to process your JavaScript source code and emit bundles ready for the browser to run. CSS preprocessors like PostCSS and Dart Sass are also supported with the cssbundling-rails gem. In particular, this style is necessary when you need to integrate frontend frameworks like React or Svelte.
This used to be the case for Vue as well. However, the story is a bit different nowadays. In order to set up a Vue frontend for a Rails 8 app, it’s necessary to use Vite. The main reason is that with the advent of Vue 3, a lot of the ecosystem around Vue changed. The necessary plugins that implement support for Vue on bundlers like esbuild and Webpack have fallen behind. Vite, which is maintained by the developers of Vue, is the new recommended way to build and deliver modern Vue apps. Thankfully, there exists the vite_rails gem, which does the heavy lifting for us when it comes to integrating Vue with Rails.
In this article, we will see a recipe for how to set up a Rails 8 app with Vue via Vite.
The development environment
In order to build a Rails app, you of course need Ruby and the Rails gem. For the frontend part, you need Node.js and the package manager of your choice. We’ll just use npm here, but Yarn and pnpm work just as well.
For development, I like to use Development Containers with Visual Studio Code. With this, you can get a Docker container that’s optimized for development thathat allows you to hit the ground running.
In any case, if you want to follow along, make sure you have all these installed in your environment:
$ ruby -v
ruby 4.0.4 (2026-05-12 revision b89eb1bcbf) +PRISM [x86_64-linux]

$ rails -v
Rails 8.1.3

$ node -v
v24.15.0

$ npm -v
11.14.1
The code is also on GitHub, including the configuration of the devcontainer.
Creating a new Rails 8 project
To create the Rails project, we use a conventional CLI command:
rails new . -n rails8-vue3-vite -d postgresql --skip-hotwire --skip-javascriptHere, the interesting options are --skip-hotwire and --skip-javascript. We will be using Vue, so we tell Rails not to include support for Hotwire. Also, we will use Vite, which has its own conventions for handling JavaScript, so we use the --skip-javascript so that Rails doesn’t create its default JavaScript files.
We should also create a page that we can navigate to:
bundle exec rails g controller home indexAfter that, you should be able to run the app and navigate to the page we just created:
$ bin/rails server
=> Booting Puma
=> Rails 8.1.3 application starting in development
=> Run `bin/rails server --help` for more startup options
Puma starting in single mode...
* Puma version: 8.0.1 ("Into the Arena")
* Ruby version: ruby 4.0.4 (2026-05-12 revision b89eb1bcbf) +PRISM [x86_64-linux]
*  Min threads: 3
*  Max threads: 3
*  Environment: development
*          PID: 45415
* Listening on http://127.0.0.1:3000
* Listening on http://[::1]:3000
Use Ctrl-C to stop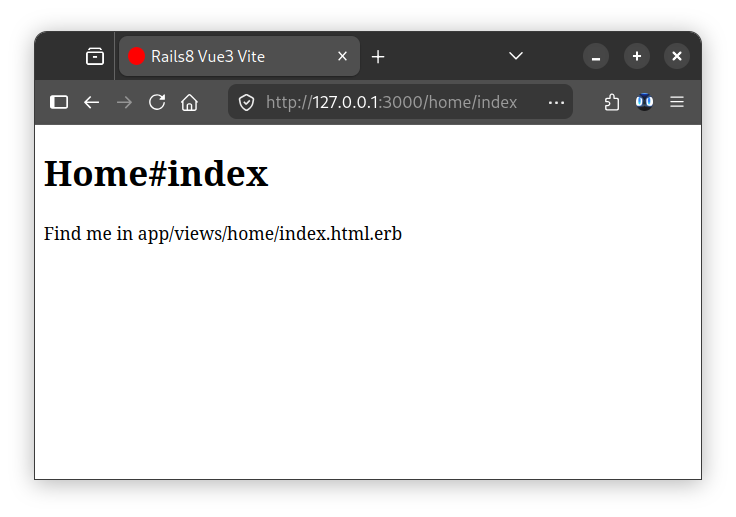
Setting up Vite
As I mentioned before, the vite_rails gem comes in really handy for integrating Vite with Rails. We install it with:
bundle add vite_rails

# ...

bundle exec vite install
With that, a few notable things should have happened in the project:
1: The gem should’ve been added to your Gemfile:
# ...
gem "vite_rails"
2: A package.json file should’ve been created with the necessary dependencies for Vite:
{
  "private": true,
  "type": "module",
  "devDependencies": {
    "vite": "^8.0.13",
    "vite-plugin-ruby": "^5.2.2"
  }
}
3: A pair of Vite config files should’ve been created, which configure Vite’s bundling process and its development and test servers:
// vite.config.ts
import { defineConfig } from 'vite'
import RubyPlugin from 'vite-plugin-ruby'

export default defineConfig({
  plugins: [
    RubyPlugin(),
  ],
})
// config/vite.json
{
"all": {
"sourceCodeDir": "app/frontend",
"watchAdditionalPaths": []
},
"development": {
"autoBuild": true,
"skipProxy": true,
"publicOutputDir": "vite-dev",
"port": 3036
},
"test": {
"autoBuild": true,
"publicOutputDir": "vite-test",
"port": 3037
}
}4: An app/frontend/entrypoints/application.js should’ve been created with some console.log calls that are useful for validating that things are working. This is called an “entry point”.
5: The following lines should’ve been added to your app/views/layouts/application.html.erb file:
<%= vite_client_tag %>
<%= vite_javascript_tag 'application' %>
vite_client_tag enables Hot Module Replacement, and vite_javascript_tag 'application' includes the bundle that Vite produces as a result of bundling application.js.
At this point, you can run the Vite development server and the Rails server in separate terminals:
$ bin/vite dev

  VITE v8.0.13  ready in 146 ms

  ➜  Local:   http://localhost:3036/vite-dev/
  ➜  press h + enter to show help
$ bin/rails server
# ...You can now navigate to http://127.0.0.1:3000/home/index and see this:
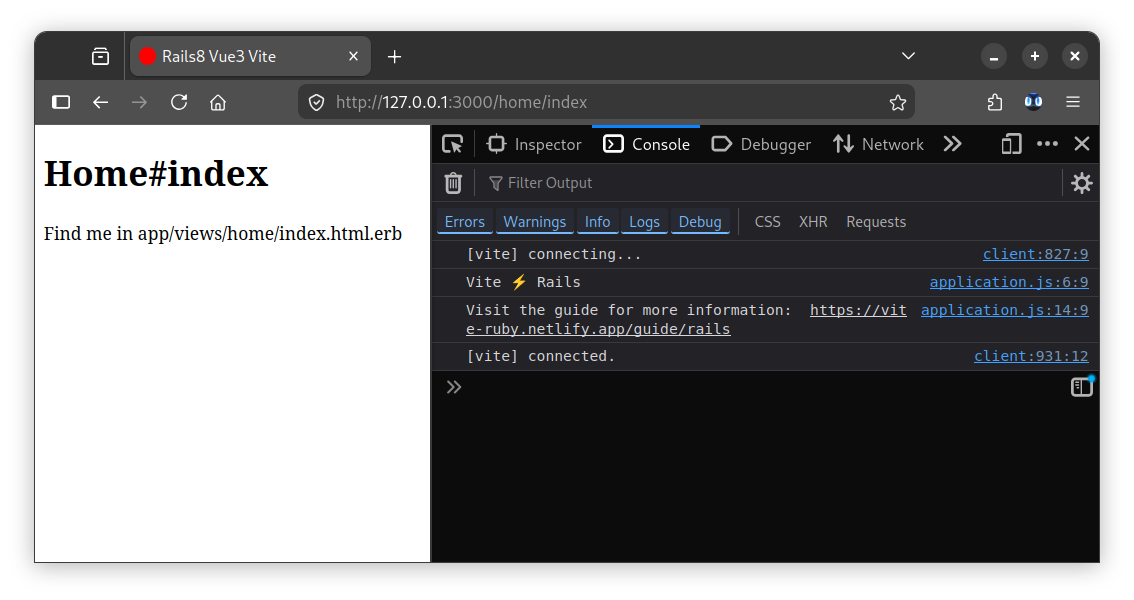
If you’re using devcontainers, you may have to specify
127.0.0.1as thehostin the Vite dev server configuration in order to allow your browser to connect to it:{ "all": { "sourceCodeDir": "app/frontend", "watchAdditionalPaths": [] }, "development": { "autoBuild": true, "skipProxy": true, "publicOutputDir": "vite-dev", + "host": "127.0.0.1", "port": 3036 }, "test": { "autoBuild": true, "publicOutputDir": "vite-test", + "host": "127.0.0.1", "port": 3037 } }
Installing Vue
Finally, we can install Vue and the plugin that allows Vite to process *.vue files:
npm install vue

# ...

npm install @vitejs/plugin-vue
Then wire it up in the vite.config.ts:
import { defineConfig } from 'vite'
import RubyPlugin from 'vite-plugin-ruby'
+import vue from '@vitejs/plugin-vue'

export default defineConfig({
  plugins: [
    RubyPlugin(),
+    vue()
  ],
})
With this, we’re all set. We can start developing Vue components. Here’s a quick example.
We can create a app/frontend/components/App.vue file with these contents:
<script>
export default {
  data() {
    return {
      message: 'Hello Rails, Vue and Vite!',
      count: 0
    }
  }
}
</script>

<template>
  <div>
    <h1>{{ message }}</h1>
  </div>

  <button @click="count++">Count is: {{ count }}</button>
</template>

<style scoped>
h1 {
  background: linear-gradient(to right, red, green, yellow);
  -webkit-background-clip: text;
  -webkit-text-fill-color: transparent;
  background-clip: text;
}

button {
  font-weight: bold;
}
</style>
And we can initialize the Vue app and mount the component we just created by adding this to app/frontend/entrypoints/application.js:
// ...

import { createApp } from 'vue'
import App from '../components/App.vue'

const app = createApp(App)
app.mount('#app')
And of course, we also have to add the mounting point in app/views/home/index.html.erb:
<!-- ... -->
<div id="app"></div>
The app now looks like this:
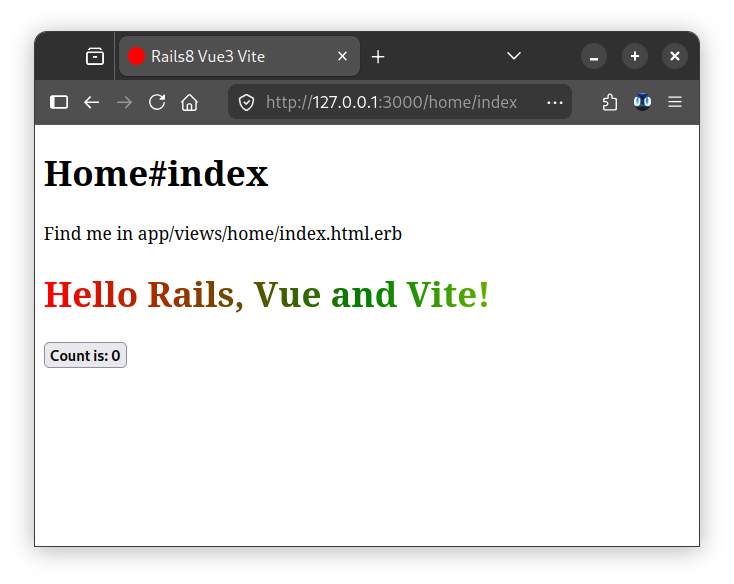
And that’s it! With Rails, Vue, Vite and a little elbow grease we can put together a beautiful monolithic app, powered by great frameworks that offer a stellar developer experience.
Comments