Rocky Linux 9 at Hetzner Robot Made Quick and Easy

By Jeffry Johar
July 1, 2023

Image by Jeffry Johar
Introduction
In my last blog post, I shared my experience of installing Rocky Linux 8 on my Hetzner robot server and subsequently upgrading it to Rocky Linux 9.
Rocky Linux project manager Brian Clemens said that method is not recommended and suggested using a boot kickstart for an automated installation. Thanks, Brian!
Despite my attempts to utilize kickstart, I encountered difficulties in booting my NVMe disk. During this process, I discovered another workaround for installing Rocky 9 using the installimage script. This method is also experimental, just like the previous one.
The Steps
-
Access the rescue mode (refer to my previous blog post if you need guidance).
-
Copy the existing Rocky Linux 9 image to Rocky Linux 8 and place it in the root directory with the following command:
cp /root/images/Rocky-91-amd64-base.tar.gz /root/Rocky-87-amd64-base.tar.gz
The filename should adhere to the required naming convention for the installimage script to function correctly.
-
Launch the
installimageand select the Custom Image option.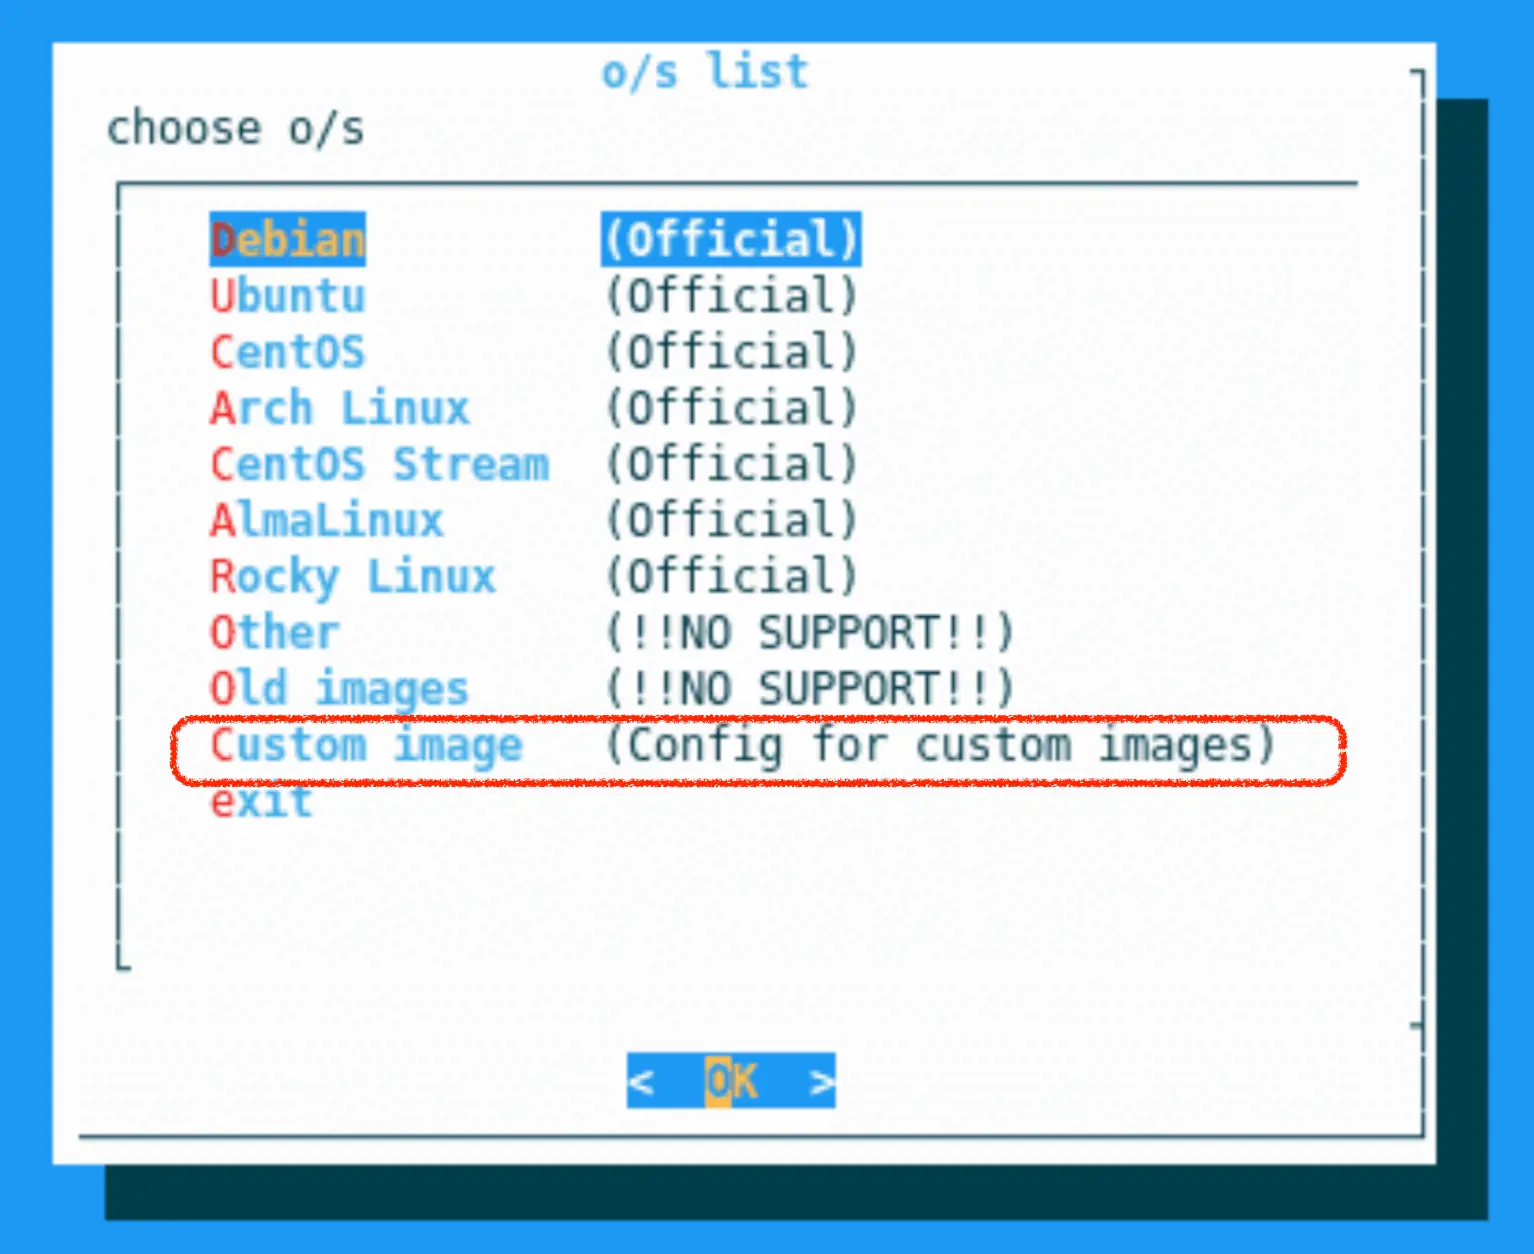
-
Configure the disk settings as required, and at the end of the script, select the image accordingly.
IMAGE /root/Rocky-87-amd64-base.tar.gz -
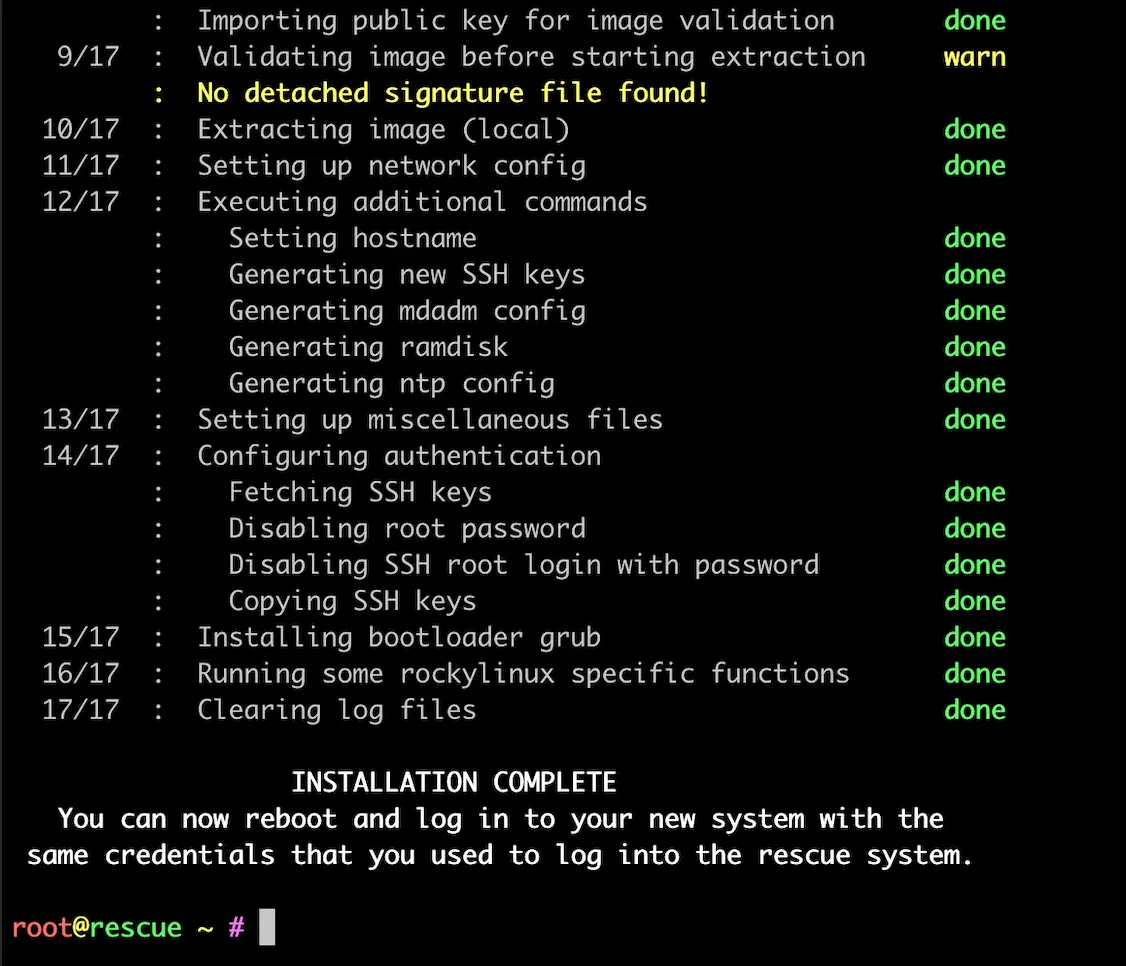
To save the configuration file, simply press F10, allowing the installation process to resume uninterrupted. You may encounter a warning indicating the absence of an image signature, which is perfectly normal. Once the installation is finished, proceed to reboot the system.
-
After the system restarts, you will have access to Rocky Linux 9. The installation will provide you with some fairly recent point-release of Rocky Linux, such as 9.1, but as always you need to update to the latest packages with
dnf update.
Conclusion
That’s all, folks! This second method is much easier compared to the first one, as it swiftly takes you to Rocky 9 without any complications.
cloud hosting linux sysadmin redhat
Comments