Generate PDF with Chrome, Puppeteer, and Serverless Stack

By Afif Sohaili
January 2, 2022

Function as a Service (FaaS) solutions are becoming more and more mainstream today. The FaaS model allows developers to not have to worry about managing infrastructure and instead focus on writing the application logic. In the FaaS model, developers write individual functions that run specific tasks that are deployed together on a FaaS platform, including but not limited to Amazon Web Services (AWS), Azure, and Google Cloud Platform (GCP).
These functions don’t always run like a traditional application server does, waiting for a request. Instead, these FaaS platforms only spin up instances of these functions whenever there is traffic and will shut them back down once there are no more requests after a given period of time. This helps make FaaS a really cheap platform while traffic is low. It is a good approach for on-demand tasks that are part of the application but not necessarily the most common path in a customer’s everyday journey within the application.
The tools
In this tutorial, we’re going to be looking at implementing PDF download with Chrome, Puppeteer, and Serverless Stack, but first, let’s have a brief introduction of the tools that we are going to be using.
1. Serverless Stack
Serverless Stack is a framework for building full-stack serverless apps. The bigger player in this space is the Serverless framework. Serverless Stack is giving the Serverless framework (yes, I know, it can be very confusing at times) a challenge to the throne. The latter has been around for many years now and has been the authority for building serverless apps. There are pros and cons to both of them.
Serverless Stack’s biggest advantage is the live Lambda debugging, a faster development process and overall better development experience. With the Serverless framework, developers have to either constantly deploy to the cloud to test any change, or spend some time setting up serverless-offline for simulated Lambda and API gateway environments on their local machines.
But with the Serverless framework, developers are not tied to using a specific platform, as it can be used to deploy functions on AWS, Azure, and Google Cloud Platform. Serverless Stack, on the other hand, only allows deploying to AWS since its internals are built on top of AWS CDK.
2. Chrome and Puppeteer
Chrome will be used in this tutorial as a headless browser, controlled using Puppeteer. Puppeteer is a Node.js package that provides an API to make Chrome or Chromium navigate to a specific URL, take screenshots, click buttons, type in input fields, as well as take PDF screenshots. Note that the PDF screenshot feature is specific to Chrome and not Chromium, so make sure to double check that you are using the right browser.
Implementing PDF screenshot and download with Serverless Stack, Chrome, and Puppeteer
Now, let’s get to the meat of this tutorial. We are going to implement PDF generation with Chrome and Puppeteer, deployed on AWS Lambda through Serverless Stack. Here is what we will do:
- Use Puppeteer in Chrome to navigate to a receipt page that we implemented.
- Instruct Chrome to take a PDF screenshot of the page.
- Stream the PDF file back to the user.
- Deploy this implementation on AWS Lambda using Serverless Stack and demonstrate the development experience throughout.
PDF generation is a great use case for FaaS. It represents something that doesn’t happen very often and is triggered on demand by the user. Instead of letting our monolith application handle that intermittent traffic, we can delegate the task to FaaS in the cloud which will do this job without worrying us about scaling the infrastructure to cater to this particular use case. Then our application can just focus on handling the regular web traffic for general use.
Prerequisite: Sample receipt pages
First, let’s create some demo pages for PDF screenshots. I’m not going to go in-depth on these since it’s not the topic of the day. I have deployed these simple HTML pages that are styled like receipts on this Surge instance here. You can find the code on GitHub here.
Getting started
Let’s generate a new Serverless Stack project.
$ npx create-serverless-stack@latest pdf-generator
$ cd pdf-generator
$ npm install
Congratulations, we have just created a new project with Serverless Stack! Here we get a basic template of a working Serverless Stack app. You can go here for more information on how to get started with Serverless Stack.
First, let’s look at the files we get from bootstrapping the project and customize them wherever we see fit.
1. sst.json
{
  "name": "pdf-generator",
  "region": "us-east-1",
  "main": "stacks/index.js"
}
This file is the entry point to the Serverless Stack app, and here we can define the region of choice, the name of the app, and the main file that Serverless Stack will use.
2. stacks/index.js
 // stacks/index.js
 app.setDefaultFunctionProps({
   runtime: "nodejs12.x"
 });

-new MyStack(app, "my-stack");
+new MyStack(app, "pdf-generator");
stacks/index.js is the main file declared in sst.json. When building the project, Serverless Stack will use this file as an entry point to our application. This file is pretty simple:
- It configures the Lambda functions to use the Node.js 12.x runtime.
- It registers a stack called
my-stack. This is the name of the CloudFormation stack on AWS. We definitely want to give it a better name thanmy-stackhere, so let’s rename that topdf-generator.
3. stacks/MyStack.js
import * as sst from "@serverless-stack/resources";

export default class MyStack extends sst.Stack {
  constructor(scope, id, props) {
    super(scope, id, props);

    // Create a HTTP API
    const api = new sst.Api(this, "Api", {
      routes: {
        "GET /": "src/lambda.handler",
      },
    });

    // Show the endpoint in the output
    this.addOutputs({
      "ApiEndpoint": api.url,
    });
  }
}
MyStack.js is where we declare the resources we need inside a given CloudFormation stack. This can be anything from a cluster of Lambda functions, API Gateway endpoints, DynamoDB tables, S3 buckets, etc. The full list of resources that we can create with Serverless Stack is listed here in the documentation. For our project we just need one API endpoint with API gateway, so what we are provided with here is already sufficient.
Deploying the project
Now, we can try to deploy this project to AWS. Ensure that the AWS Access Key ID and AWS Secret Access Key are set in the development environment, and then run npx sst start.
# export AWS credentials
export AWS_ACCESS_KEY_ID=<access key id>
export AWS_SECRET_ACCESS_KEY=<secret access key>

# or if the credentials are set in ~/.aws/credentials
export AWS_PROFILE=<AWS profile name>

# Start the app in development mode
npx sst start
After a few minutes, we will have the Cloudformation stack deployed on our AWS account. Keep in mind that the first deployment will take a bit longer than subsequent deployments. When the deployment is done, we should be able to see that it is watching for file changes from our local machine.
threadlightly-pdf-generator-pdf-generator | CREATE_COMPLETE | AWS::ApiGatewayV2::Route | ApiRouteGET8AC7D3F8
threadlightly-pdf-generator-pdf-generator | CREATE_COMPLETE | AWS::Lambda::Permission | ApiRouteGETthreadlightlypdfgeneratorpdfgeneratorApiRouteGET7230D6CDPermissionE4542537
threadlightly-pdf-generator-pdf-generator | CREATE_COMPLETE | AWS::CloudFormation::Stack | threadlightly-pdf-generator-pdf-generator

 ✅  threadlightly-pdf-generator-pdf-generator


Stack threadlightly-pdf-generator-pdf-generator
  Status: deployed
  Outputs:
    ApiEndpoint: https://<yourapigatewayurl>.execute-api.us-east-1.amazonaws.com


==========================
 Starting Live Lambda Dev
==========================

Transpiling Lambda code...
Debug session started. Listening for requests...
Let’s head to the API URL given in the output and we should get a response back like this:
Hello, World! Your request was received at 30/Nov/2021:06:21:13 +0000.Developing with Serverless Stack
Let’s try updating one of the files provided to see how we can test the changes we have made and will make.
 // stacks/MyStack.js
 const api = new sst.Api(this, "Api", {
   routes: {
-    "GET /": "src/lambda.handler",
+    "GET /downloads/receipt": "src/lambda.handler",
   },
 });

 // stacks/index.js
   runtime: "nodejs12.x"
 });

-new MyStack(app, "my-stack");
+new MyStack(app, "pdf-generator");
Here we did two things:
- We updated the API endpoint to
GET /downloads/receiptinstead of justGET /. - We made the Lambda function return the URL given in the query string.
Once we save these changes we should see Serverless Stack automatically reloading our code and since we changed the API endpoint path, Serverless Stack will need to make changes to our infrastructure (i.e. the API Gateway resources), and whenever it detects that it has to change the infrastructure of our application, it will immediately prompt us to redeploy.
Rebuilding code...
Rebuilding infrastructure...
Done building code
Press ENTER to redeploy infrastructure
Once we hit ENTER, Serverless Stack will automatically update our infrastructure for us: delete our old endpoint, create a new endpoint on GET /downloads/receipt, and hook up our src/lambda.js file to handle that endpoint.
When it’s ready, try hitting the API gateway URL again, but this time append /downloads/receipt?url=https://google.com to it.
// https://<yourapigatewayurl>.execute-api.us-east-1.amazonaws.com/downloads/receipt?url=https://google.com
Hello! You've requested to print the receipt at page https://google.com
Great, now we have learned how to make changes to our Serverless Stack application during development. Let’s go ahead and add Puppeteer and Chrome to our Lambda function.
 // stacks/MyStack.js
 import * as sst from "@serverless-stack/resources";
+import { LayerVersion } from "@aws-cdk/aws-lambda";
+
+const layerArn = "arn:aws:lambda:us-east-1:764866452798:layer:chrome-aws-lambda:25";

 // Create a HTTP API
 const api = new sst.Api(this, "Api", {
   routes: {
-     "GET /downloads/receipt": "src/lambda.handler",
+     "GET /downloads/receipt": {
+       function: {
+         handler: "src/lambda.handler",
+         // Increase the timeout for generating screenshots
+         timeout: 15,
+         // Load Chrome in a Layer
+         layers: [LayerVersion.fromLayerVersionArn(this, "Layer", layerArn)],
+         // Exclude bundling it in the Lambda function
+         bundle: { externalModules: ["chrome-aws-lambda"] },
+       }
+     },
   },
 });
Here, we are configuring our AWS Lambda function to use a Lambda layer that includes Chrome in our Lambda functions. You can think of these Lambda layers as being similar to NPM packages that you pull for extending your projects except that this is a 3rd party package for extending AWS Lambda functions instead.
With this layer, your AWS Lambda function will boot with the Chrome binary already included. This layer is maintained here. Make sure you’re using the ARN from the right region. In this tutorial, we are using us-east-1 per Serverless Stack’s default, so we are going to pick the ARN for us-east-1.
Now, let’s update our Lambda handler to:
- Use Puppeteer to instruct Chrome to navigate to the URL passed in the parameter.
- Take a screenshot of the web page and save a PDF out of that. Puppeteer provides a handy
page.pdfAPI to do just that. - Ultimately, stream that PDF file back to the user.
Here’s the code for that, with some comments to help you out:
+import chrome from "chrome-aws-lambda";
+
+const puppeteer = chrome.puppeteer;
+
 export async function handler(event) {
-  return {
-    statusCode: 200,
-    headers: { "Content-Type": "text/plain" },
-    body: `Hello! You've requested to print the receipt at page ${event.queryStringParameters.url}`,
-  };
+  let browser
+  let response
+  try {
+    const { url } = event.queryStringParameters;
+
+    browser = await puppeteer.launch({
+      args: chrome.args,
+      executablePath: await chrome.executablePath,
+    });
+
+    const page = await browser.newPage();
+    // Use A5 size at 150dpi
+    const width = 874
+    const height = 1240
+
+    await page.setViewport({ width, height });
+
+    // Navigate to the url
+    await page.goto(url, { waitUntil: 'networkidle2' });
+
+    // Take the screenshot
+    await page.pdf({path: 'receipt.pdf', width: width + "px", height: height + "px", printBackground: true});
+
+    response = {
+      statusCode: 200,
+      body: JSON.stringify({message: 'Screenshot taken'})
+    };
+  } catch(err) {
+    response = {
+      statusCode: 500,
+      body: JSON.stringify({message: `An error occured. ${err.message}`})
+    }
+  } finally {
+    await browser && browser.close()
+  }
+  return response
 }
Let’s also not forget to install Puppeteer and Chrome.
$ npm install puppeteer puppeteer-core chrome-aws-lambdaNow, give Serverless Stack some time to reload our new changes. Once we have the API endpoint ready to go, let’s head to the browser and hit our API endpoint, passing the URL to the sample receipt page that we did earlier as a query param.
// Visit https://<yourapigatewayurl>.execute-api.us-east-1.amazonaws.com/downloads/receipt?url=https://unwieldy-key.surge.sh/index.html
// Response:
{"message":"Screenshot taken"}
Great! We are getting back a 200 status code and a message saying “Screenshot taken”. That means our code works and there were no exceptions. We’re halfway there.
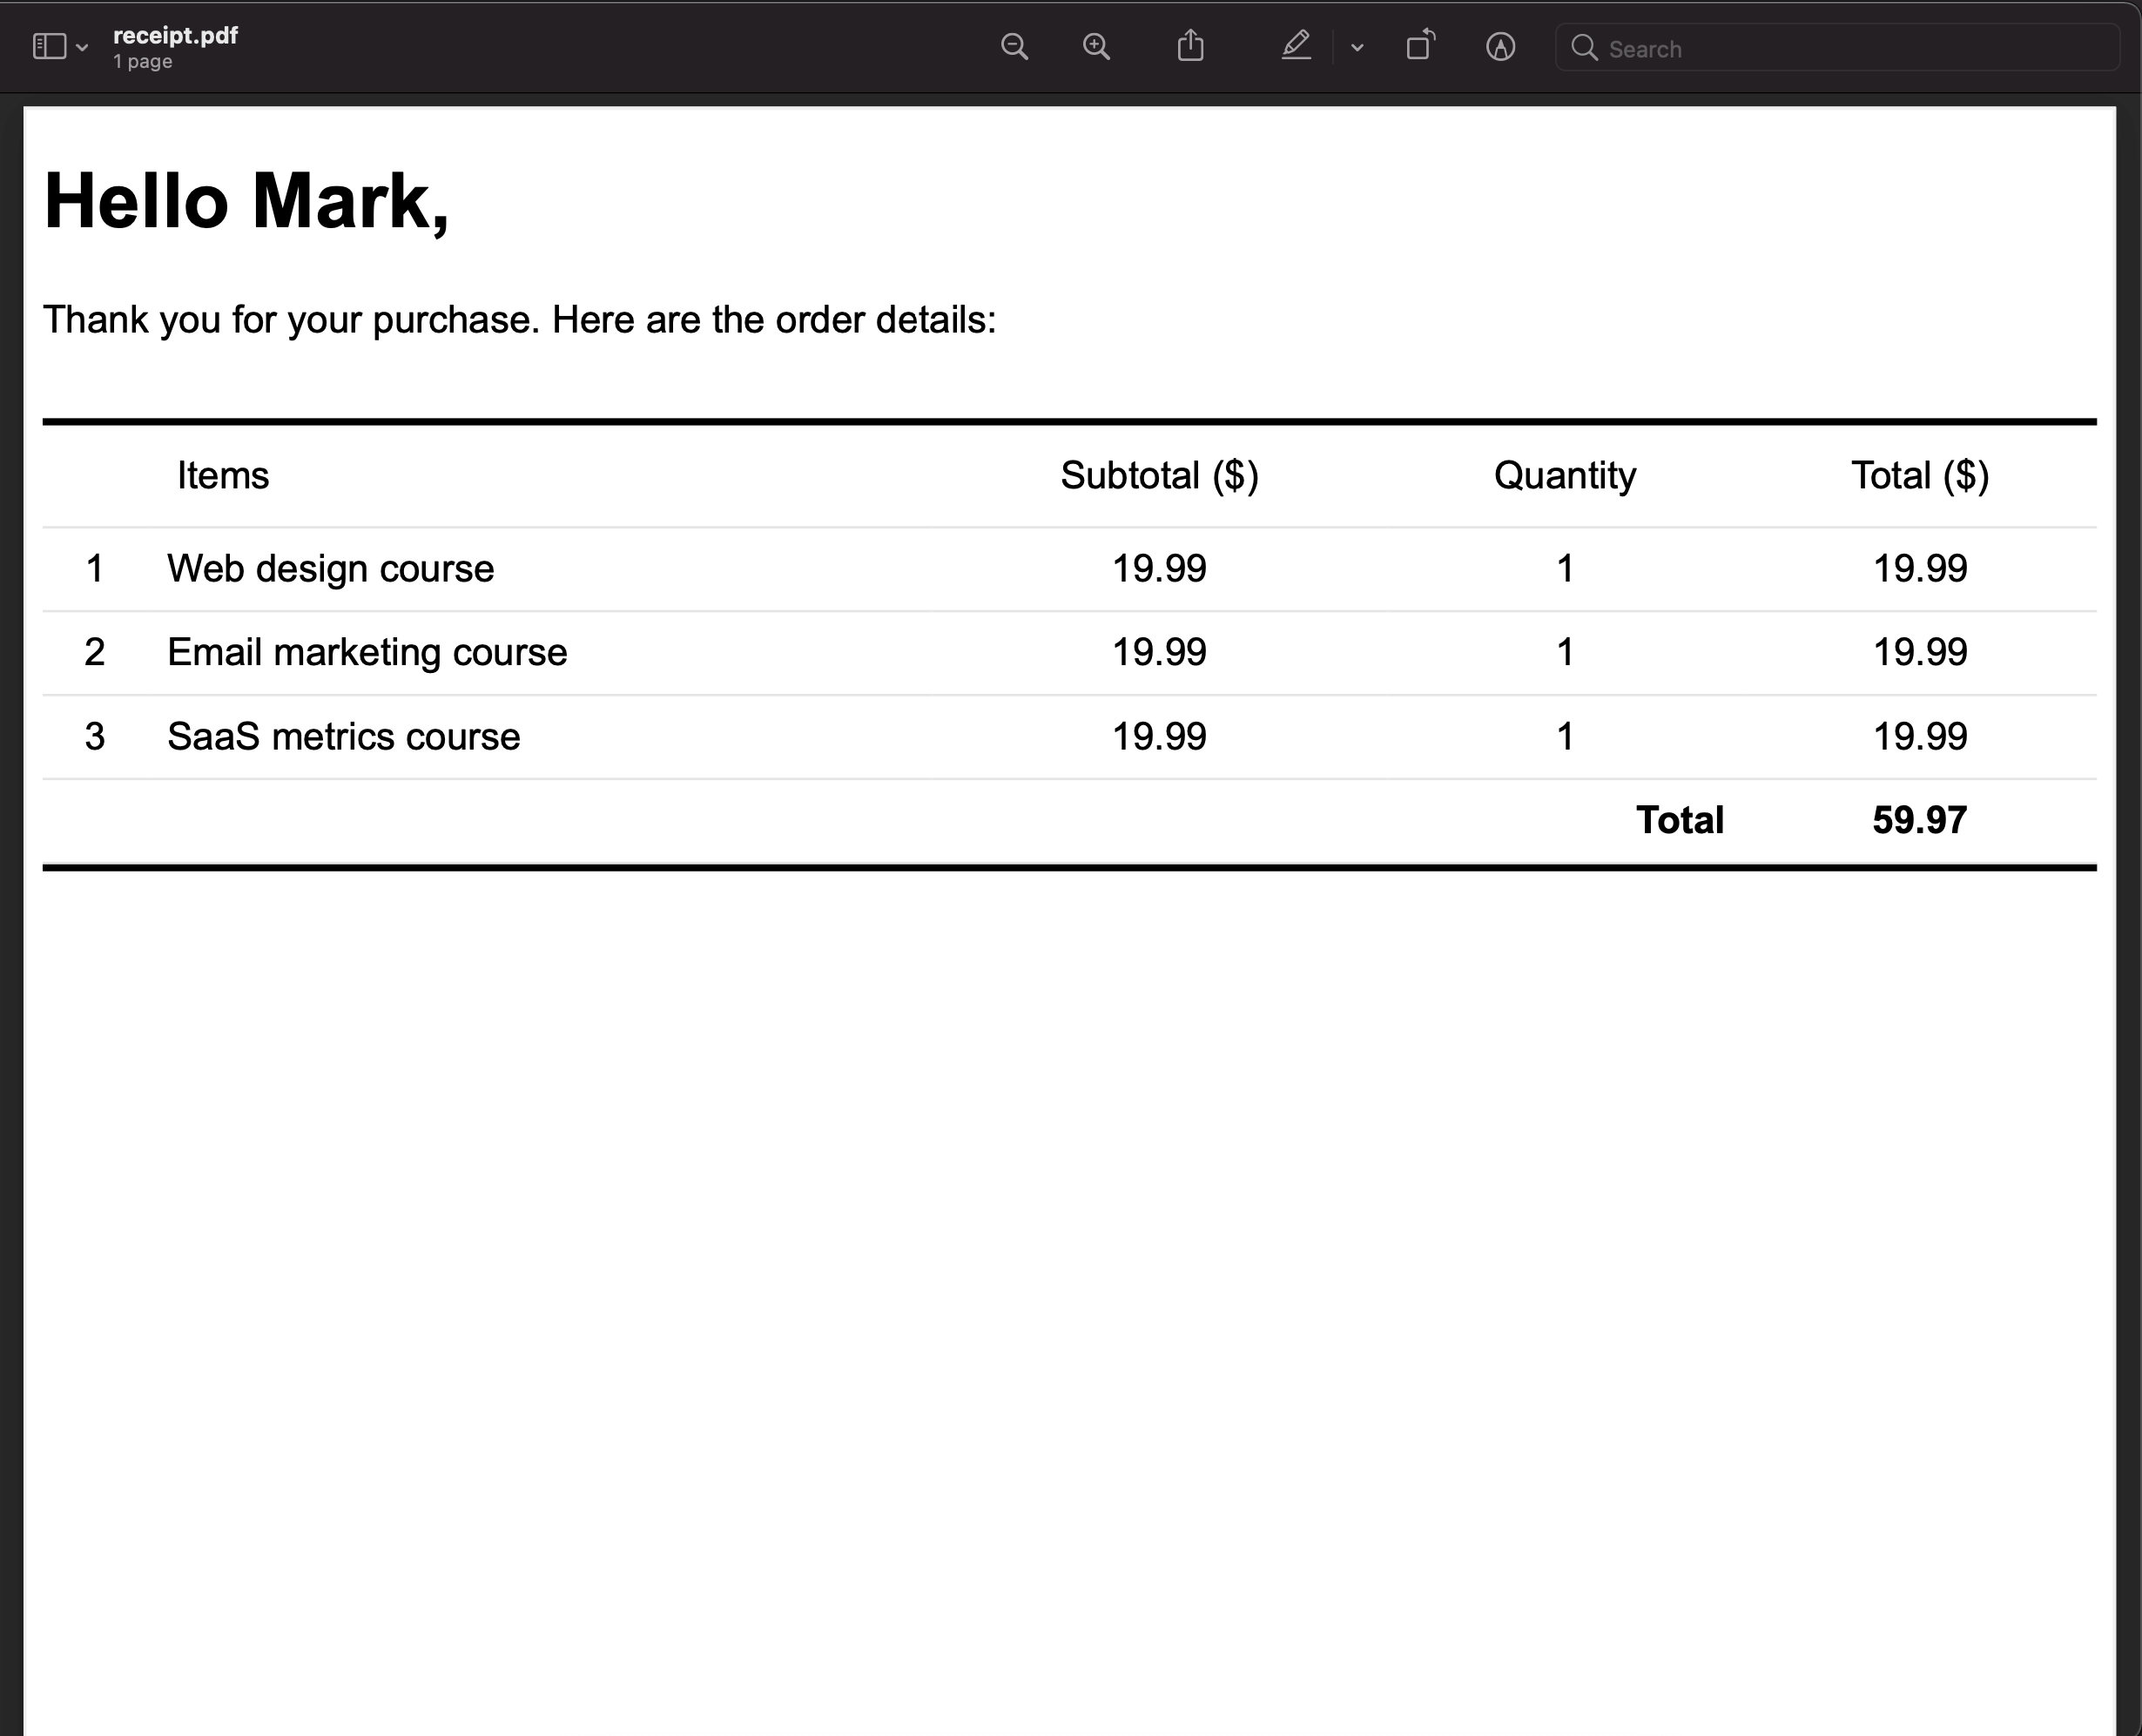
Now, if we check the project folder, we should now see a new file called receipt.pdf there. This is the receipt.pdf captured by Puppeteer. We can open this file and verify that this is the demo receipt page that I deployed earlier that we passed to the endpoint.
We can also hit the API endpoint with the second sample receipt URL (i.e. url=https://unwieldy-key.surge.sh/receipt-2.html) and we should see the receipt.pdf file gets replaced with the receipt from the new URL.
Note that in a real-world application, the URL you would want to screenshot might need some form of authentication, so you are going to have to figure that out for your application. In this case the sample receipt page is accessible publicly, so we don’t run into this problem, but chances are your users’ receipt page will not be accessible publicly like this.
One way you could solve this is to create a special user account that has permission to visit these authenticated pages for this purpose. Then, prior to visiting the receipt page, you’d program Puppeteer to first log in as the special user and then head to the receipt page URL to be screenshot.
However, we are only halfway there. We can see the receipt.pdf file now only because the receipt.pdf file was made available to us by Serverless Stack, which automatically downloads that file to our local machine in development mode. In a real AWS Lambda execution, the file will remain in the filesystem of that Lambda execution context instead, and the user will not see it.
Hence we have to read and stream that file back to the user instead of returning a JSON message saying “Screenshot taken”. Getting a 200 status code is a great start, but that still does not give our users the actual PDF that they wanted, so let’s update our Lambda handler to do just that:
 // src/lambda.js
+import * as fs from "fs";

 // Take the screenshot
 await page.pdf({path: 'receipt.pdf', width: width + "px", height: height + "px", printBackground: true});
+const buffer = fs.readFileSync('receipt.pdf')

 response = {
   statusCode: 200,
-  body: JSON.stringify({message: 'Screenshot taken'})
+  headers: {'Content-type' : 'application/pdf'},
+  body: buffer.toString('base64'),
+  isBase64Encoded : true,
 };
The changes this time are pretty simple:
- Import the
fsmodule from Node.js, which will give us access toreadFileSyncAPI that can read files on the disk. - Read the generated
receipt.pdffile as a Buffer. - Return the file’s Buffer as a base64 string in the response body.
- Set the content-type to be
application/pdf. Setting the content-type appropriately will tell the browser what to do with the file. Some browsers will display the PDF in an in-browser PDF reader, while others will download the file.
That’s it! Now let’s test the change. Hit the same URL again.
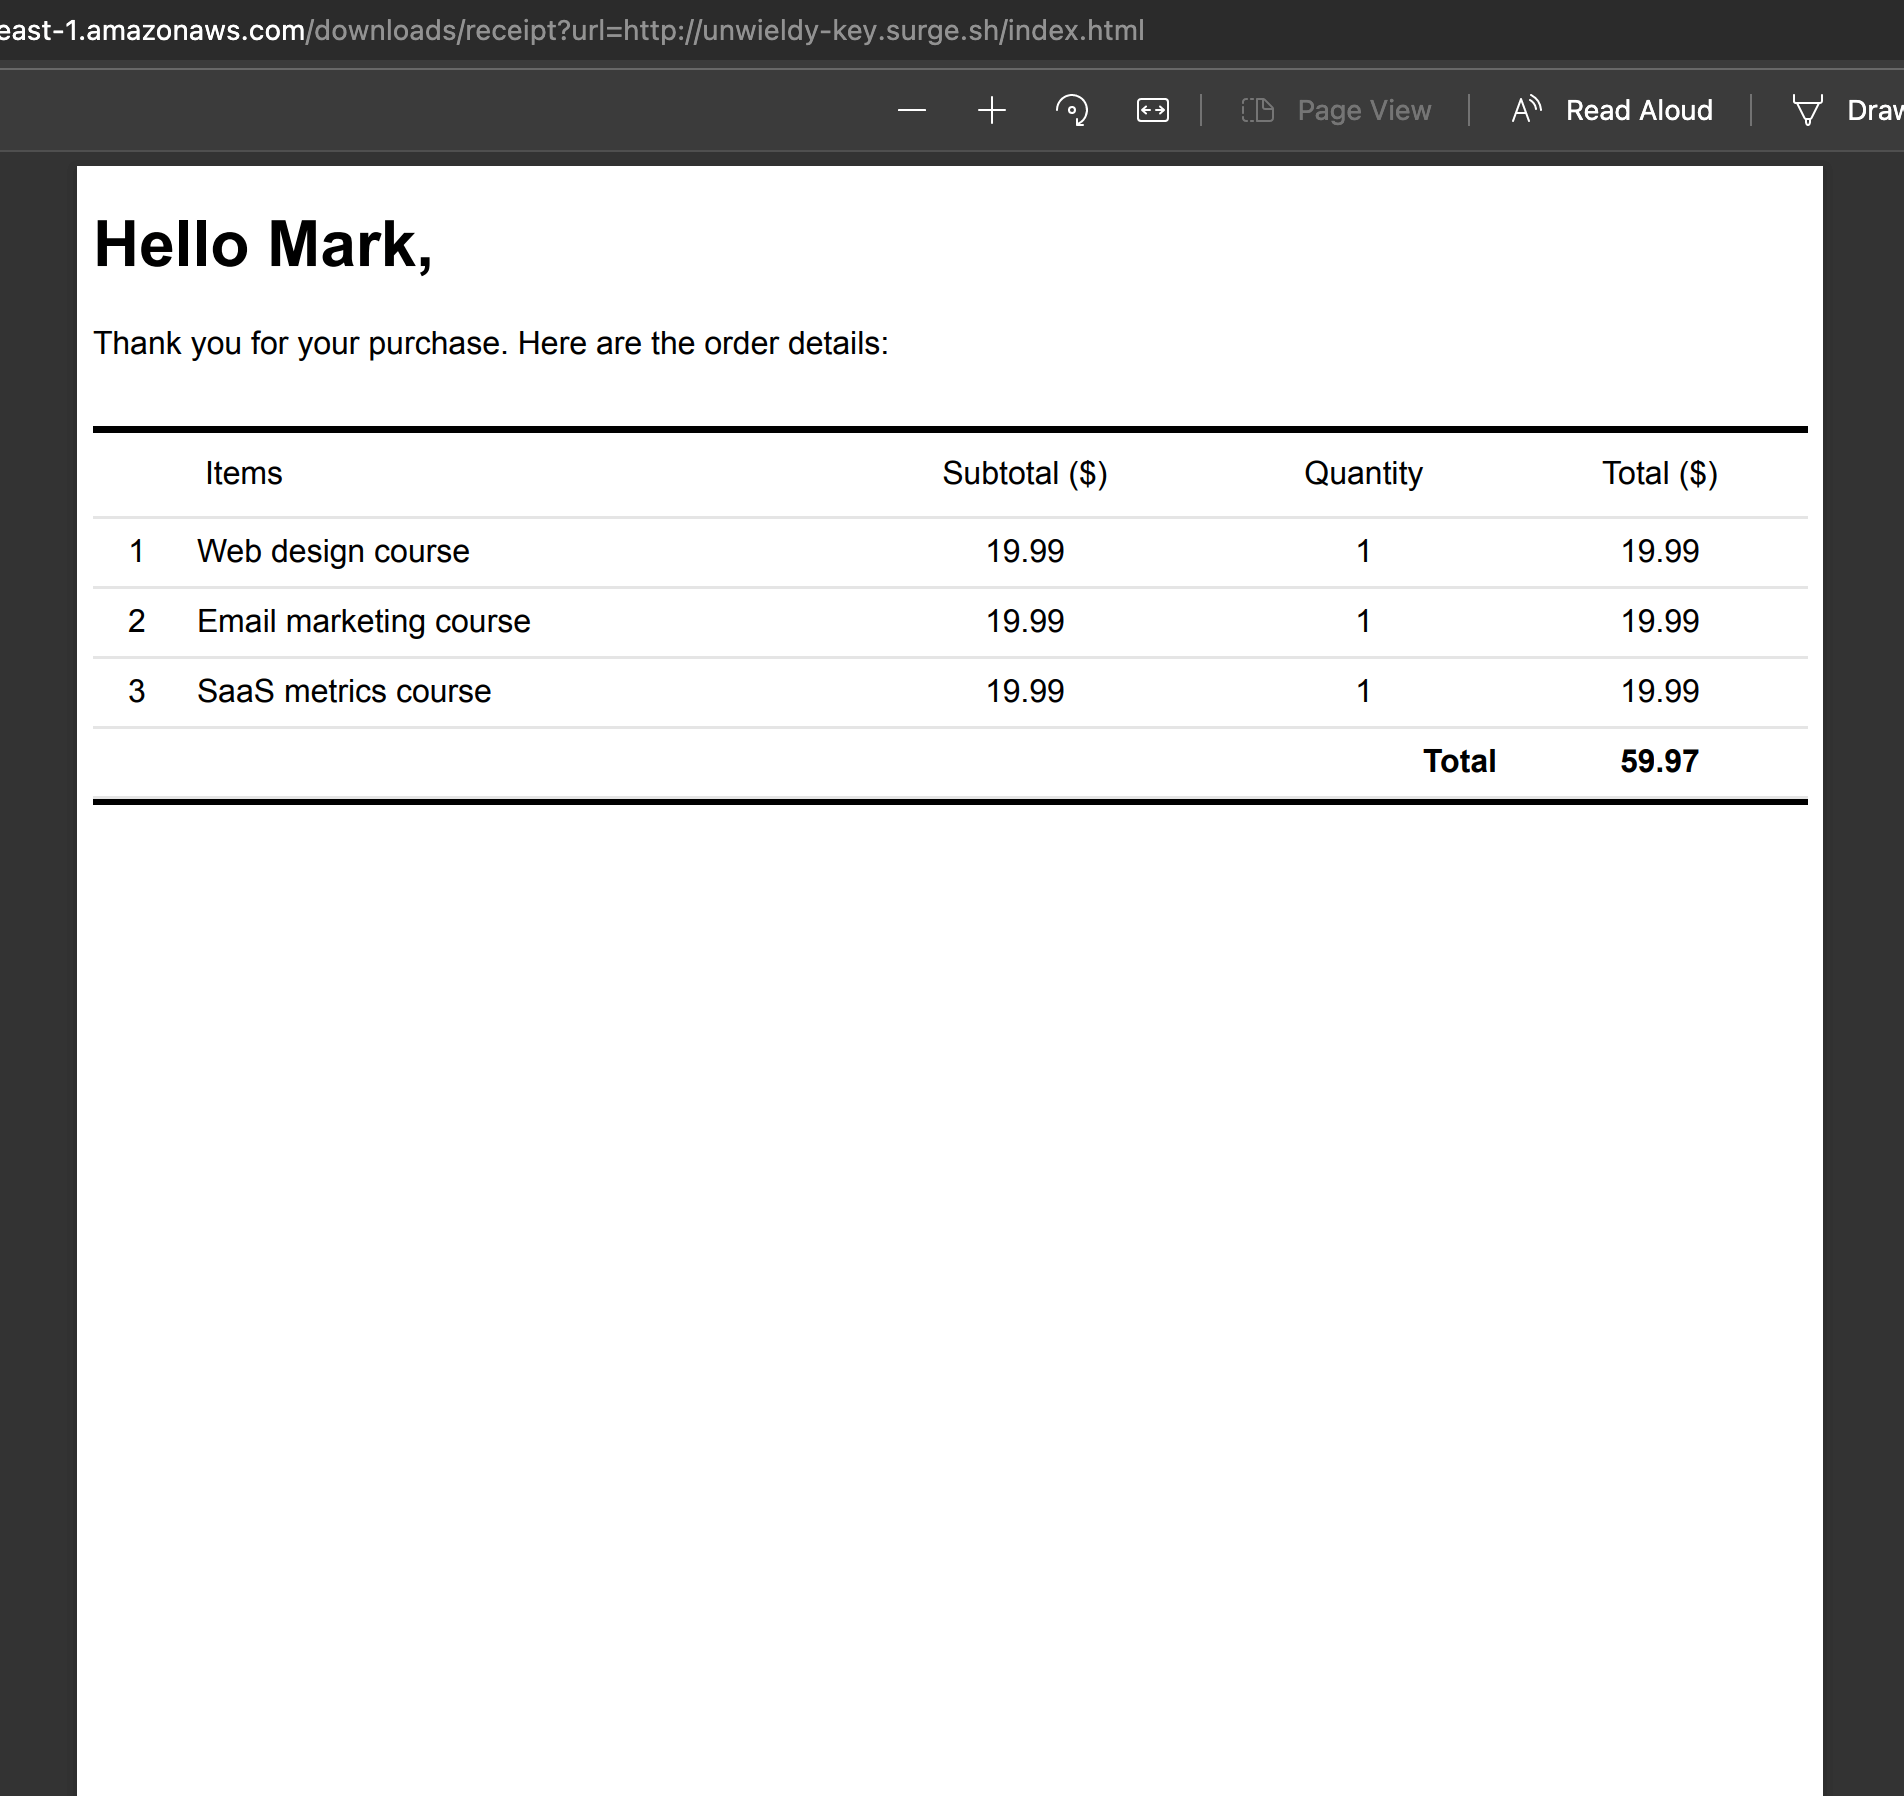
Bingo, the endpoint now returns the PDF to the user! Now we can integrate this endpoint with our main application to delegate these on-demand PDF generation to managed FaaS infrastructure.
Conclusion
FaaS platforms are a really great way to offload intermittent and on-demand traffic from our main application. This ensures our application runs smoother and can serve our general customers better, while at the same time handling these on-demand tasks really well.
Caveats
Building a full-blown application on the stack is also possible, but in my personal experience, it comes with its own complexities and tradeoffs that may or may not be worth the engineering time.
For example, databases are an issue with going full-blown development on FaaS. Because FaaS can scale indefinitely, the number of connections to the database is a limitation.
You can switch to FaaS-friendly databases such as DynamoDB or FaunaDB, but these are NoSQL databases and require a different mindset in structuring the application data than the simpler relational databases and that can cost tremendous engineering time. Relational databases are easier to work with for most types of applications.
Nonetheless, more and more tools are being developed to tackle these complexities, such as PlanetScale and Serverless Aurora v2 (still in preview). All in all, it is definitely a trend worth following closely.
Further readings
- Full code on GitHub: https://github.com/afifsohaili-ep/serverless-stack-pdf-generator
- Code for the sample receipt pages: https://github.com/afifsohaili-ep/receipt-demos
- Serverless Stack: https://serverless-stack.com/
- Serverless framework: https://serverless.com/
- Serverless Databases: The Good, the Bad, and the Ugly
automation aws chrome cloud pdf serverless
Comments