Appium: Automated Mobile Testing

By Couragyn Chretien
June 30, 2021

First impressions are everything. You can have the best, most robust application in the world, but if it looks like it’s from 2004 most users won’t give it a second look. Automated testing can help ensure that the app the user sees is consistent and fully functional no matter the iteration.
Selenium, Cypress, and other automated testing suites have become more and more popular for webapps. This trend has not carried over to mobile native app testing. This may be a bit surprising, as a fully functional frontend can be the difference between a professional-feeling app and a hacky one.
There are many frameworks that can be used to test mobile applications (Appium, UI Automator, Robotium, XCUITest, SeeTest, and TestComplete to name a few), but today we’ll be focusing on Appium.
Appium is an open source framework that’s easy to use out of the box. It can be used to test many versions of many different mobile OSes. It’s a one-stop shop to ensure your users are on the same page, no matter the platform.
Installation and setup for Linux
General
We will be testing the To-Do List app from the Google Play Store. What we’re testing and for which platform isn’t important, since we’re here to learn about the Appium methodology that can be applied to any mobile app.
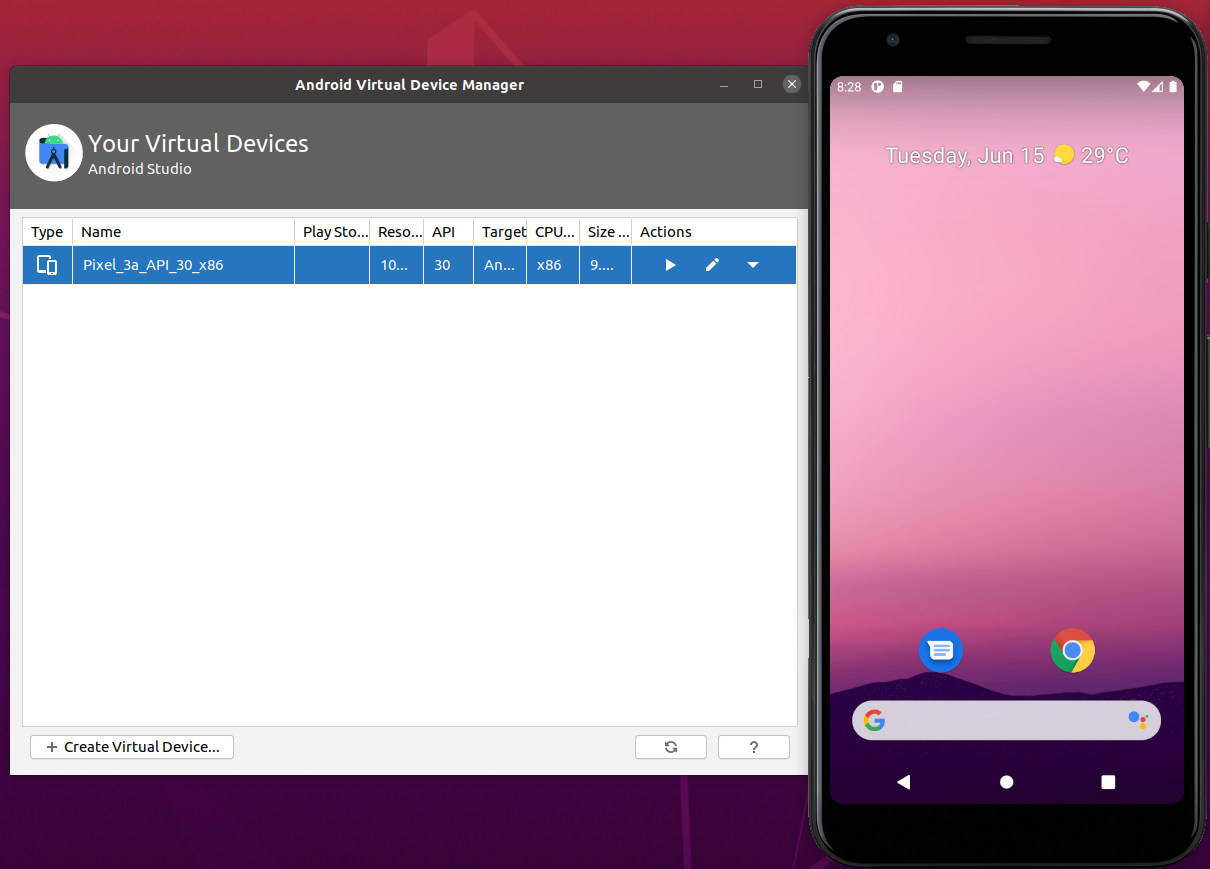
AVD Android emulator
We will be using an AVD (Android Virtual Device) to test our app. There are many out there but I recommend Android Studio’s.
Once it’s running, just click Configure > AVD Manager.

Either create a new AVD or use the default one and start it up.
Appium
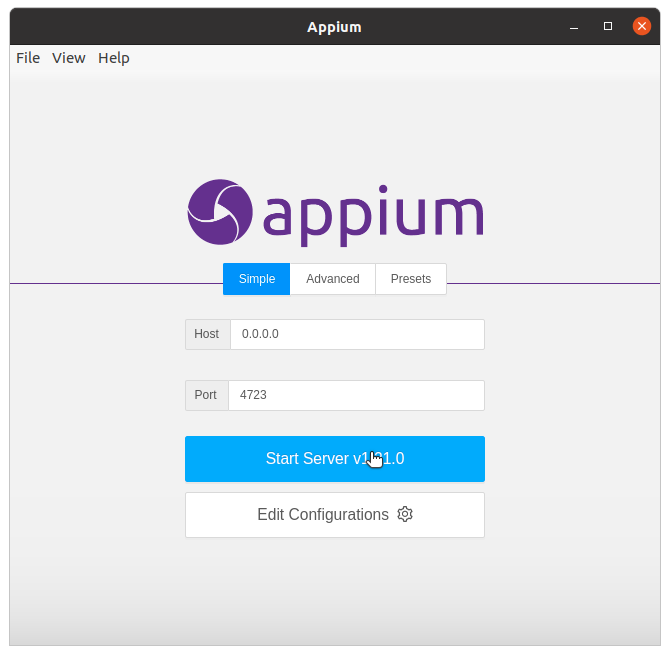
Download Appium from GitHub.
Appium can be run through the command line but we’re going to use the desktop app here. This gives you the ability to record a session and capture elements for automated tests.
Once it’s running, all we have to do is click Start Server.
Ruby and RSpec
We will be using Ruby and RSpec to run our tests. At the top level of our project we need to add these lines to our Gemfile:
/Gemfile:
source 'https://www.rubygems.org'

gem 'appium_lib', '~> 11.2'
gem 'appium_lib_core', '~> 4.2'
Make sure Ruby is installed, then run:
$ gem install rspec
$ bundle install
We also need to configure RSpec to find the correct AVD and APK to test.
/spec/spec_settings.rb:
ANDROID_PACKAGE = 'io.appium.android.apis'
def android_caps {
  caps: {
    # These settings match the settings for your AVD. They can be found in the AVD Manager.
    platformName: 'Android',
    platformVersion: '11',
    deviceName: 'Pixel_3a_API_30_x86',
    #  This points to the apk you are testing
    app: './To-do_list.apk',
    automationName: 'UIAutomator2',
  },
  appium_lib: {
    wait: 60
  }
}
end
Finally we need to create our test. Since we don’t know the elements yet we can start with a blank template.
/spec/TaskCRUD:
require 'spec_settings'
require 'appium_lib'

describe 'Tests basic CRUD functions of Task application' do

  before(:all) do
    @driver = Appium::Driver.new(android_caps, true).start_driver
  end

  after(:all) do
    @driver&.quit
  end

  it '...' do

  end
end
Putting it all together
Let’s boot it up and make sure everything is running as expected.
- Run an AVD from Android Studio
- Start the Appium Server
- Run
rspecin the project root
Even though there is no test written it should still run and pass the template test. Running it the first time will save the APK into the AVD virtual memory. We can now access the app on the AVD emulator and record tests.
Recording a test with Inspector
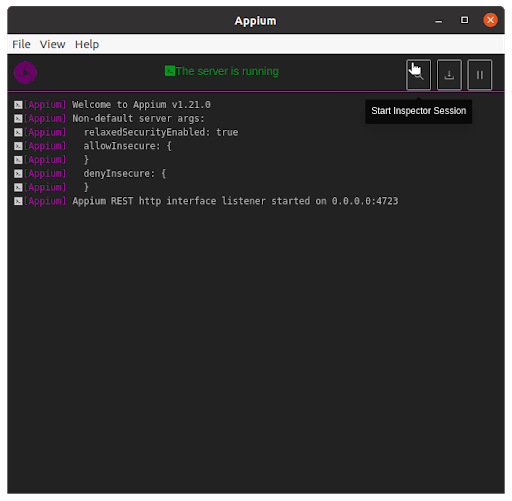
Open the Appium window that has the server running and click Start Inspector Session:
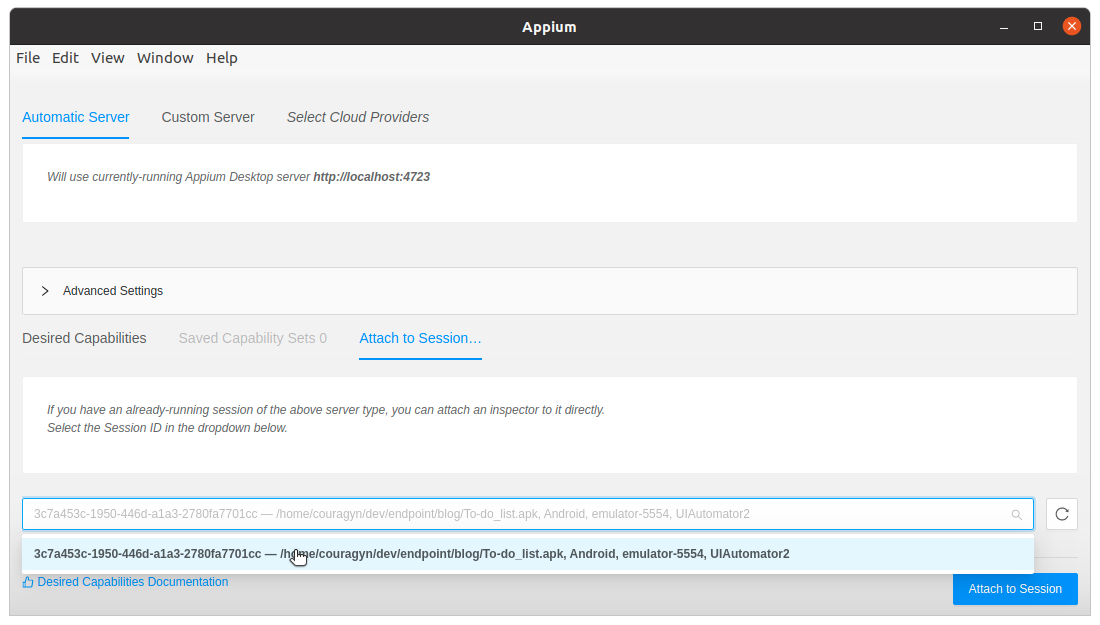
Under Attach to Session... you will see a dropdown containing the RSpec test we just tried to run. If it’s not here try running rspec again. Select this and click the Attach to Session button.
We are now connected to the Android Emulator via the Inspector. We can click on elements to see their properties and interact with them.
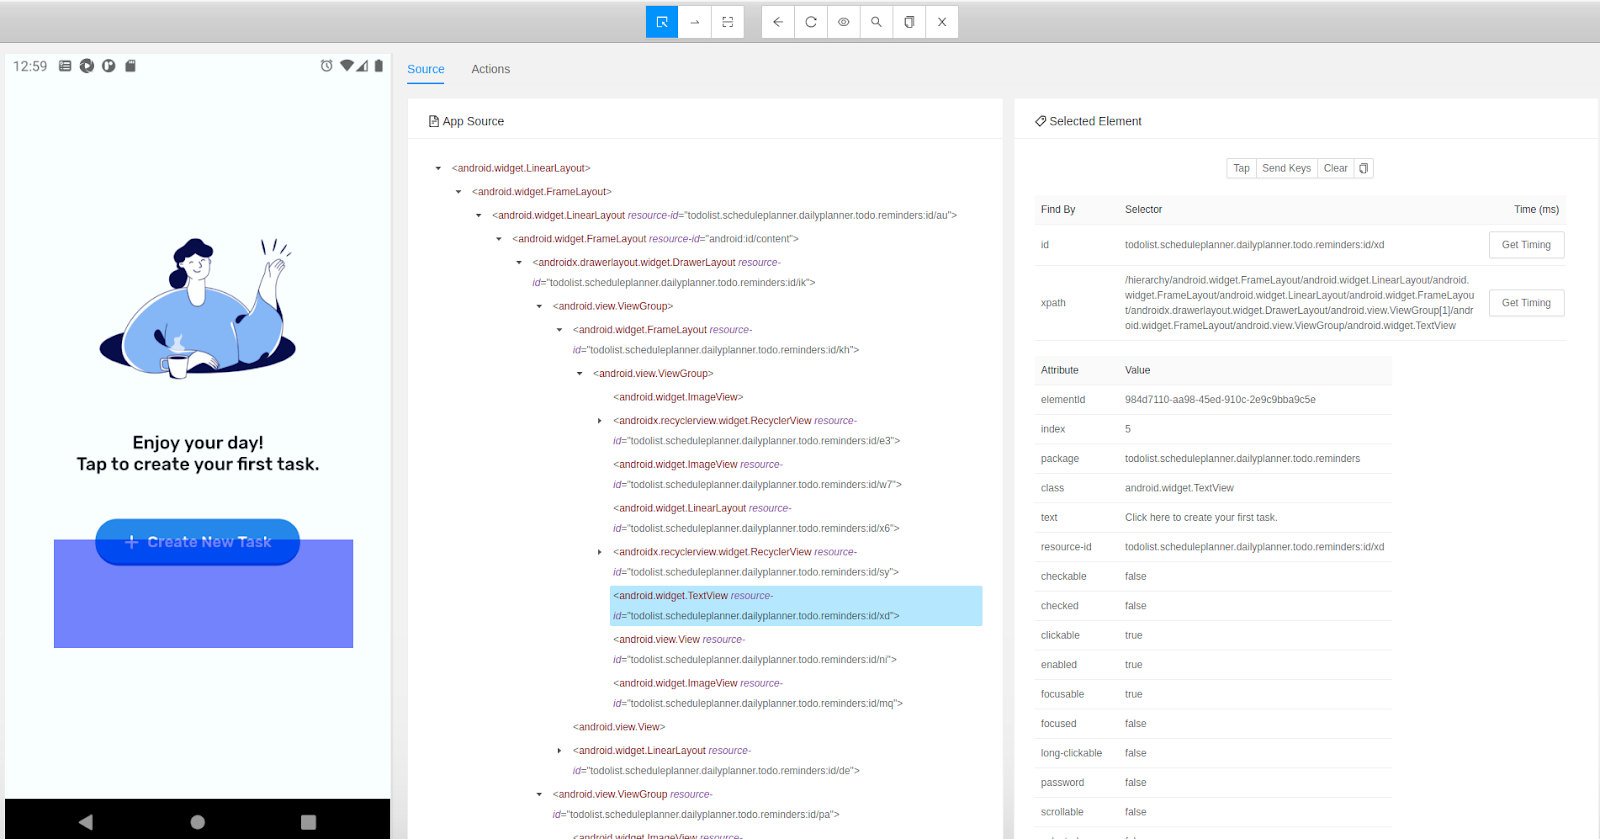
If we click the top record button it will save our actions and allow us to import them into a test.

Running a test
Let’s take what we got from the Inspector and populate our template test.
/spec/TaskCRUD:
require 'spec_settings'
require 'appium_lib'

describe 'Tests basic CRUD functions of Task application' do

  before(:all) do
    @driver = Appium::Driver.new(android_caps, true).start_driver
  end

  after(:all) do
    @driver&.quit
  end

  it 'creates a task and verifies its name' do
   el1 = @driver.find_elements(:id, "todolist.scheduleplanner.dailyplanner.todo.reminders:id/zk")
    el1.click
    el2 = @driver.find_elements(:id, "todolist.scheduleplanner.dailyplanner.todo.reminders:id/xd")
    el2.click
    el3 = @driver.find_elements(:id, "todolist.scheduleplanner.dailyplanner.todo.reminders:id/wt")
    el3.send_keys "task_1"
    el4 = @driver.find_elements(:id, "todolist.scheduleplanner.dailyplanner.todo.reminders:id/wr")
    el4.click
    el5 = @driver.find_elements(:xpath, "/hierarchy/android.widget.FrameLayout/android.widget.LinearLayout/androidx.recyclerview.widget.RecyclerView/android.widget.LinearLayout[3]/android.widget.TextView")
    el5.click
    el6 = @driver.find_elements(:id, "todolist.scheduleplanner.dailyplanner.todo.reminders:id/wo")
    el6.click
    el7 = @driver.find_elements(:xpath, "/hierarchy/android.widget.FrameLayout/android.widget.LinearLayout/android.widget.FrameLayout/android.widget.LinearLayout/android.widget.FrameLayout/android.widget.RelativeLayout/androidx.recyclerview.widget.RecyclerView")
    el7.click
    el8 = @driver.find_elements(:id, "todolist.scheduleplanner.dailyplanner.todo.reminders:id/xl")
    expect(el8.text).to eql 'Test-text-1'
  end
end
If we run it with the rspec command we can watch the test in progress on the AVD and then we receive a success message!
What’s next?
Additional tests
Tests should be written to cover as many aspects of the app as possible. The main focus should be on parts of the app that don’t change very often. Tests written for something in progress or that is due for a facelift will need to be rewritten when the time comes.
Test with other devices
An app can look perfect on a Galaxy S20 but look awful on a Pixel 5. That’s why it’s important to try many different AVD versions for your app. Android allows you to create many phone types that run many different firmware versions.
CI/CD integration
Manual testing is great but nothing beats automation. These tests should ideally be integrated into a continuous integration and continuous delivery (CI/CD) platform. This way each build will be automatically vetted for bugs.
For more info, check out this guide for integrations with CircleCI.
automation testing android mobile
Comments