Poor Man’s Linux Remote Desktop Using VNC Server

By Ed Huott
July 21, 2016
Even the most hardcore Linux hackers want to run GUI applications sometimes. The problem is how do you do that with Linux when it’s running on a remote server with no access to the console?
Remote Desktop is a built-in feature of Windows Server that lets you access a virtual remote desktop session that’s not tied to a physical console. Many would be tempted to believe that most Linux distributions don’t come with this kind of functionality out of the box. Au contraire! This article explains one method for accessing this feature using only packages included in most stock Linux installations. The examples given here are based on Debian/Ubuntu.
The core ingredient of our recipe is the vnc4server package, which includes Xvnc, the X VNC (Virtual Network Computing) server. A description of what that is comes right from the Xvnc(1) manual page itself:
Xvnc is the X VNC (Virtual Network Computing) server. It is based on a standard X server, but it has a “virtual” screen rather than a physical one. X applications display themselves on it as if it were a normal X display, but they can only be accessed via a VNC viewer - see vncviewer(1).
So Xvnc is really two servers in one. To the applications it is an X server, and to the remote VNC users it is a VNC server.
The remaining ingredients are the packages needed to provide a window manager or desktop environment as well as the particular graphical programs you wish to run. Here, the best choice is probably a lightweight desktop environment such as LXDE. Their lower demands on the graphics subsystem will make for snappier performance over a network connection.
Once all the necessary packages are installed, the vncserver command can be run on the remote server to start a virtual desktop session that can then be connected to by any VNC client. Multiple users on the remote system may run virtual desktop sessions at the same time.
So, without further ado, here are some step by step instructions for making it all happen.
Install and Configure Server-Side Software
- Install the
vnc4serverpackage:
user@remote:~$ sudo apt-get install vnc4server
- Install the packages needed to provide a graphical desktop environment. We use Xfce in this example:
class="indent">user@remote:~$ sudo apt-get install xfce4
- Use the
vncpasswdcommand to set the password needed to access the remote session:
user@remote:~$ vncpasswd
- Use the text below as the contents of the
vncserverstartup script in the file$HOME/.vnc/xstartup. If the file already exists, replace its contents with the text below. Otherwise, just create the file:
#!/bin/sh

# Enable normal desktop startup with cut and paste support to Xvnc session
unset SESSION_MANAGER
/usr/bin/vncconfig -nowin

# The standard X11 init script initializes the desktop running in the Xvnc server
sh /etc/X11/xinit/xinitrc

# Kill VNC server once session has ended
vncdisplay=`echo $DISPLAY | sed 's/^.*:/:/' | sed 's/\..*$//'
vncserver -kill $vncdisplay
The astute reader will recognize that this file is the secret sauce of this recipe. You can customize it to control what programs are run in your virtual desktop session.
Starting a Remote Virtual Desktop Session
Use the vncserver command to start a virtual desktop session on the remote server. The example below shows a typical command and its output:
user@remote:~$ vncserver -geometry 1280x1024 -localhost

New 'remote:1 (user)' desktop is remote:1

Starting applications specified in /home/user/.vnc/xstartup
Log file is /home/user/.vnc/remote:1.log
The -geometry option sets the size of the virtual desktop. It cannot be changed once the session is started.
The -localhost option tells the server to only accept connections from the local machine. This is useful for ensuring that only encrypted connections tunneled through SSH can be used to access the desktop session. (This is necessary because Xvnc doesn’t have any built-in support for encryption.)
Accessing the Remote Desktop Session via a Secure SSH Connection
- Use ssh to set up a secure tunnel to the remote server:
user@local:~$ ssh -L 5901:localhost:5901 user@remote
The remote Xvnc server listens on port 590n where n is the “display number” assigned to the desktop session. This is the number shown after the colon (:) in the output of the vncserver command (see above).
- Use the
vncviewercommand (or other VNC client program) to connect to the remote desktop session:
user@local:~$ vncviewer localhost:5901
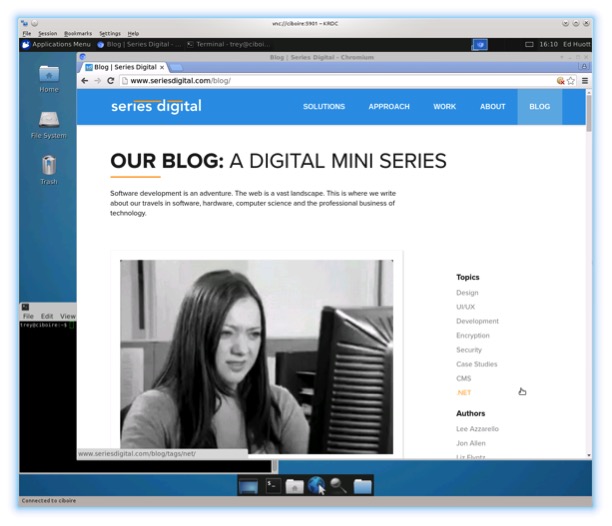
Once the password set by the vncpasswd command above is given, your remote desktop session should appear on the screen!
So, What’s This All Good For?
Say you have a remote network to which access is only possible via ssh through a single machine with a publicly accessible interface. Rather than going to the trouble of setting up a special VPN to this network, you can launch a secure, virtual desktop session on this machine and access the internal network as if you were logged into the machine’s graphical console.
Another application would be for automated GUI testing. Instead of dedicating multiple physical machines to do Selenium automated web testing, for example, multiple virtual desktops could simultaneously run scripted tests automatically. A VNC viewer application could be used to connect to any of the instances at any time to view progress or do debugging.
The possibilities are really endless.
Comments