Half day GlusterFS training in Selangor, Malaysia

By Muhammad Najmi bin Ahmad Zabidi
April 2, 2017
On January 21, 2017, I had an opportunity to join a community-organized training on storage focused on GlusterFS. GlusterFS is an open source cloud-based filesharing network. The training was not a strictly structured training as the topic approached knowledge sharing from various experts and introduced GlusterFS to the ones who were new to it. The first session was delivered by Mr Adzmely Mansor from NexoPrima. He shared a bit of his view on GlusterFS and technologies that are related to it.
Mr Haris, a freelance Linux expert, later led a GlusterFS technical class. Here we created two virtual machines (we used Virtualbox) to understand how GlusterFS works in a hands-on scenario. We used Ubuntu 16.04 as the guest OS during technical training. We used Digital Ocean’s GlusterFS settings as a base of reference. The below commands detail roughly what we did during the training.
In GlusterFS the data section is called as “brick”. Hence we could have a lot of “bricks” if we have it more than once :) . As Ubuntu already had the related packages in its repository, we could simply run apt-get for the package installation. Our class notes were loosely based from Digital Ocean’s GlusterFS article here. (Note: the article was based on Ubuntu 12.04 so some of the steps could be omitted).
The GlusterFS packages could be installed as a superuser with the following command:
apt-get install glusterfs-serverSince we were using a bridged VM during the demo, we simply edited the /etc/hosts in the each VM so they could communicate between each other by using hostname instead of using typing the IP manually.
root@gluster2:~# grep gluster /etc/hosts
192.168.1.11 gluster1
127.0.0.1 gluster2
Here we will try to probe the remote host whether it is reachable:
root@gluster2:~# gluster peer probe gluster1
peer probe: success. Host gluster1 port 24007 already in peer list
The following commands create the storage volume. Later, whatever we put in the /data partition will be reachable on the other gluster node.
gluster volume create datastore1 replica 2 transport tcp gluster1:/data gluster2:/data
gluster volume create datastore1 replica 2 transport tcp gluster1:/data gluster2:/data force
gluster volume start datastore1
Most of the parts here could be retrieved from the link that I gave above. But let’s see what will happen later on when the mounting part is done.
cd /datastore1/
root@gluster2:/datastore1# touch blog
root@gluster2:/datastore1# ls -lth
total 512
-rw-r--r-- 1 root root  0 Mar 14 21:33 blog
-rw-r--r-- 1 root root 28 Jan 21 12:15 ujian.txt
The same output could be retrieved from gluster1
root@gluster1:/datastore1# ls -lth
total 512
-rw-r--r-- 1 root root  0 Mar 14 21:33 blog
-rw-r--r-- 1 root root 28 Jan 21 12:15 ujian.txt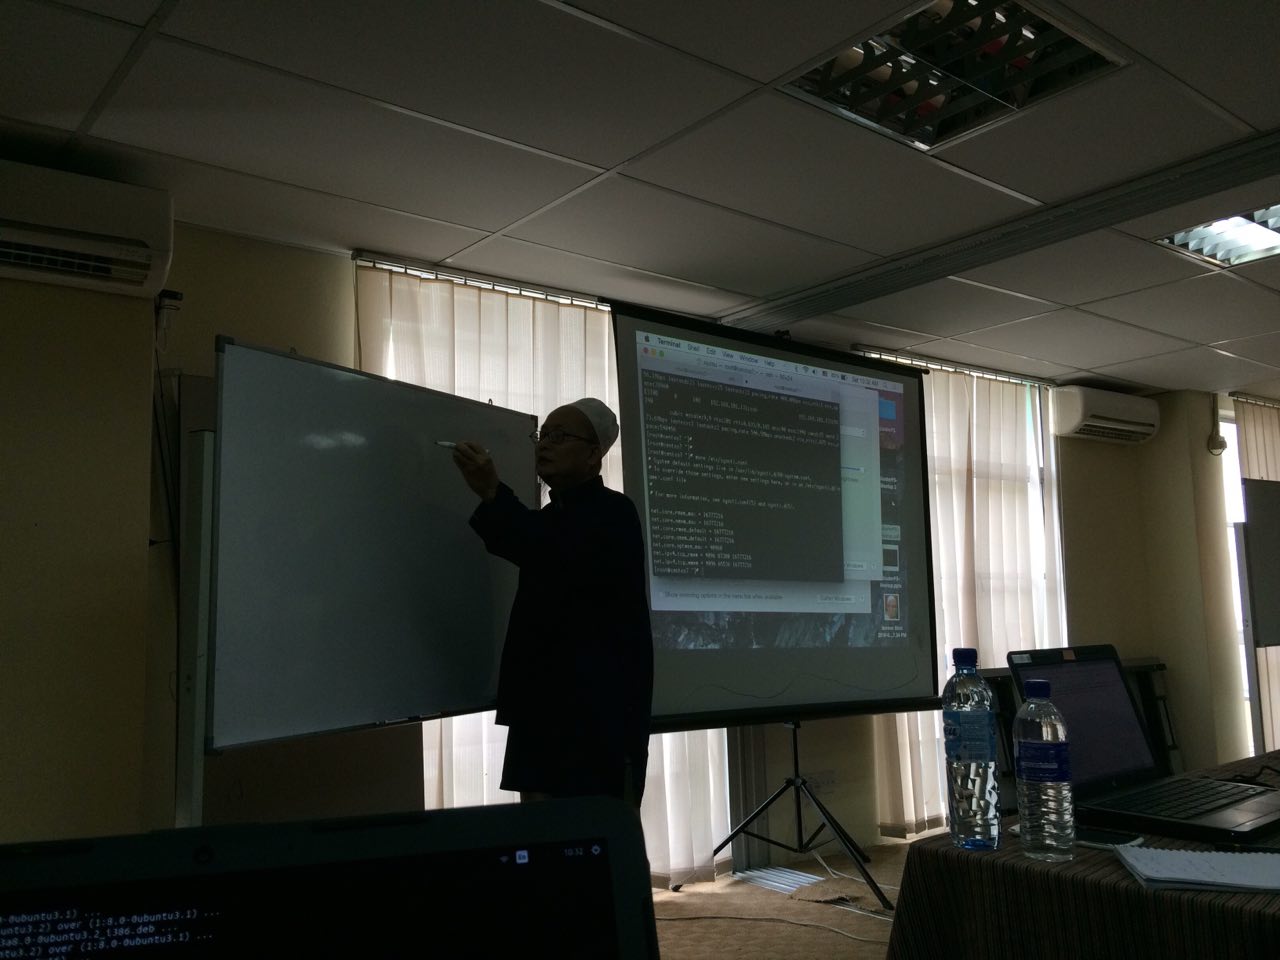
Mr. Adzmely gave explanation on the overall picture of GlusterFS
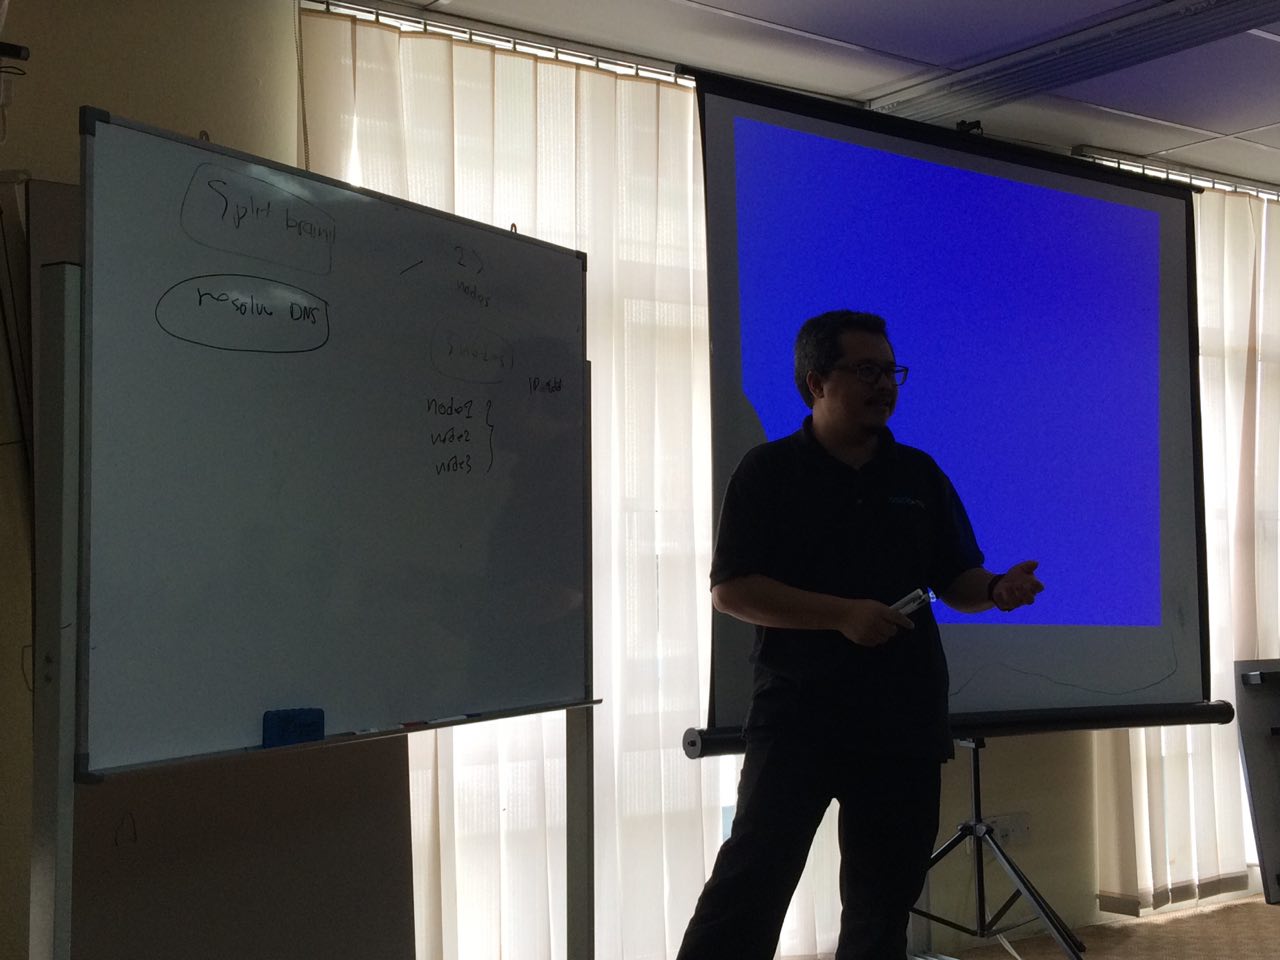
Mr. Haris explained on the technical implementation of GlusterFS
In terms of the application, the redundancy based storage is good for situations where you have a file being updated on several servers and you need to ensure the file is there for retrieval even if one of the servers is down. One audience member shared his experience deploying GlusterFS in his workplace (a university) for the purpose of new intake of student’s registration. If anyone ever uses Samba filesystem or NFS, this kind of similar, but GlusterFS is much more advanced. I recommend additional reading here.
Comments