Streaming Live with Red5 Media Server

By Marina Lohova
April 27, 2012

Are you excited about Google Hangouts? Would you be even more excited to implement live streaming yourself?
Today we will take a look under the hood of broadcasting and even start implementing our own mini hangout.
A bit of theory
Live streaming is based on RTMP protocol. It is able to transfer video, audio and generally any data in real-time over Internet between server and client.
The most popular combination for video/audio streaming is Adobe Flash Player as a client software and a proprietary Adobe Flash Media Server as a server software. Another option is Wowza Streaming solutions.

Luckily for us there is an open-source Red5 Media Server—the most popular if not the only one stable of all open-source media streaming servers. We will be leveraging Red5 to dive into RTMP world and the cutting edge streaming technologies.
Exploring Red5 Media Server
Download and install Red5 Media Server for your environment from here. Now it is time to implement a sweeping live stream between our two laptops.
Red5 comes with the set of demo applications (http://localhost:5080/demos/) that are very handy to base the development on. Demo applications can be installed via the Installer (http://localhost:5080/installer/). For the purpose of this article we need to install the “oflaDemo” application.
After installation is complete, we can launch the demo for Simple Broadcaster application. In Simple Broadcaster we click “Connect” button, grant Flash Player permission to use camera and microphone, and—voila!—we should now be broadcasting live via Simple Broadcaster application to oflaDemo application.
If we use another browser to open Simple Subscriber application, or even another laptop with the IP of the broadcasting computer, we will be able to stream the video live. It is quite noticeable that quality drops in Simple Subscriber.
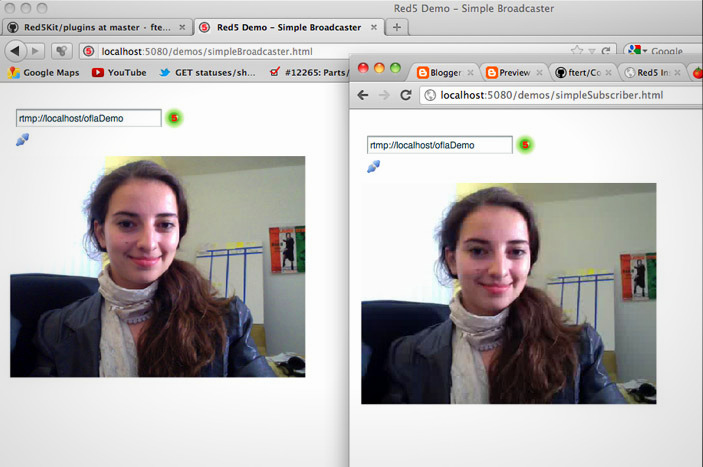
In this example we also learned that rtmp://localhost/oflaDemo is the server communication point to where we publish and stream videos.
Customizing SimpleBroadcaster and SimpleSubscriber
Next comes the most interesting part, embedding SimpleBroadcaster and SimpleSubscriber into the web page.
We can’t really use their default versions “as is”. We want to remove input box, “Connect” button and Red5 connection indicator. We also want the streaming to start automatically.
It’s more convenient to implement “Start” button in HTML and trigger the loading of SWF on “click”, because then we can easily change it, while changing SWF requires a lot of effort. You will be able to understand how exactly much effort it takes in a minute.
My plan is to use Flash CS5 to modify SimpleBroadcaster.fla and SimpleSubscriber.fla. Flash Builder 4.6 to modify ActionScript classes for SimpleBroadcaster and SimpleSubscriber. Finally I will use Flash compiler to generate SimpleBroadcaster.swf and SimpleSubscriber.swf from .as and .fla files.
Finally, some coding versus talking!
Red5 sources are conveniently available on GitHub, in server-side and Flash-side.
> git clone https://github.com/Red5/red5-flash red5Step 1.
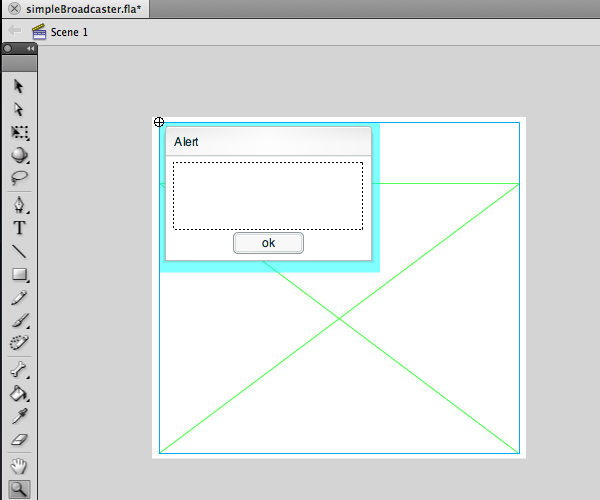
Let’s open simpleBroadcaster.fla located in the very root of the download in Flash CS5.
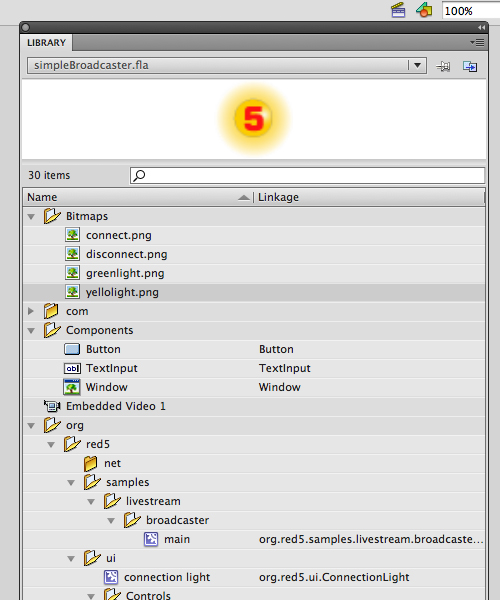
and take a pick at the Library panel.
Let’s double-click on the Embedded Video 1, open Window -> Properties panel and modify the size of the video to occupy the full documents area. Alternatively, we may change the document size to fit the video: right-click on the grey area, pick Document settings from the context menu and adjust dimensions. Either way, now we should drag the video rectangle to fit the document. We will save the document and repeat the same sequence of actions for simpleSubscriber.fla, because they are really no different.
Step 2.
Let’s now open the “red5” directory that we checked out in FlashBuilder.
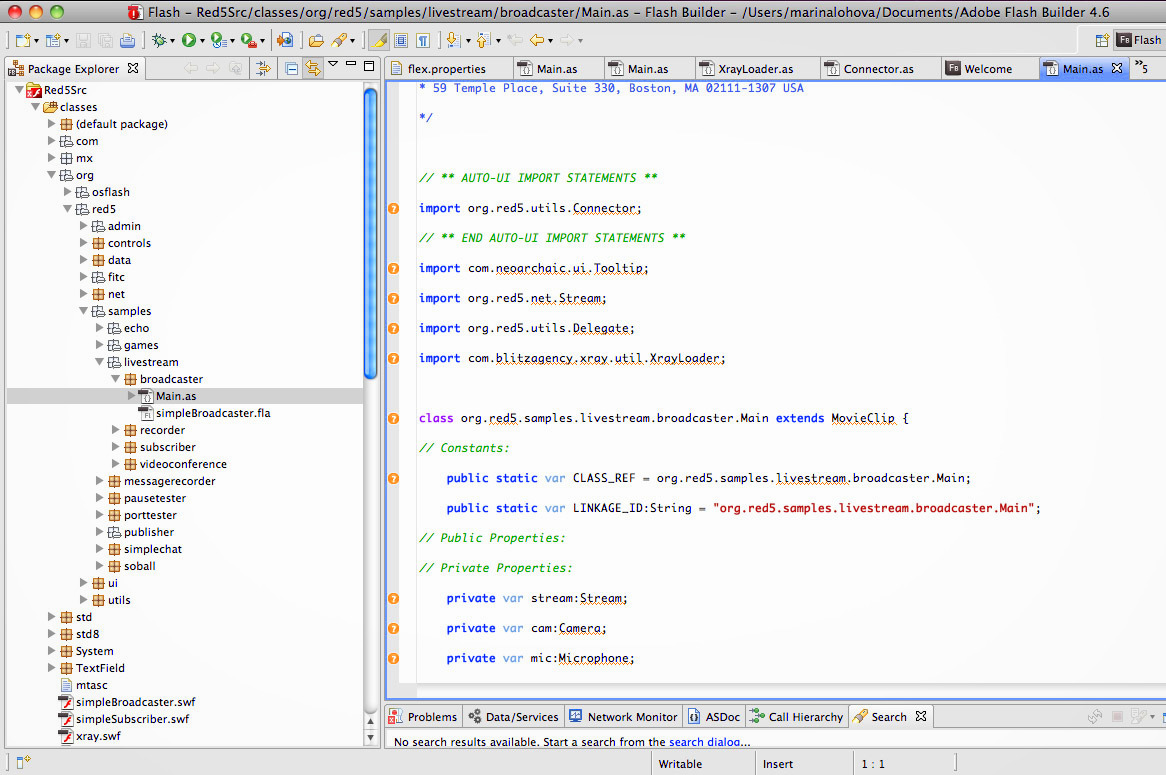
We immediately find the main class for simpleBroadcaster.fla org.red5.samples.livestream.broadcaster.Main in “classes” directory.
The key function here is “configUI”.
private function configUI():Void
{
    // setup the tooltip defaults
    Tooltip.options = {size:10, font:"_sans", corner:0};
    // setup cam
    cam = Camera.get();
    cam.setMode(480, 320, 15);
    cam.setQuality(0,80);
    // setup mic
    mic = Microphone.get();
    // get notified of connection changes
    connector.addEventListener("connectionChange", this);
    // set the uri
    Connector.red5URI = "rtmp://localhost/oflaDemo";
    // initialize the connector
    connector.configUI();
}
Let’s look into Connector class org.red5.utils.Connector.
 // UI Elements:
 // ** AUTO-UI ELEMENTS **
 private var alert:SimpleDialog;
 private var connect:IconButton;
 private var disconnect:IconButton;
 private var light:ConnectionLight;
 private var uri:TextInput;
 // ** END AUTO-UI ELEMENTS **

 public function configUI():Void
 {
  // instantiate the connection
  connection = new Connection();

  // register the connection with the light so it can add a listener
  light.registerNC(connection);

  // hide disconnect button
  disconnect._visible = false;

  // set the URI
  uri.text = red5URI;

  // setup the buttons
  connect.addEventListener("click", Delegate.create(this, makeConnection));
  disconnect.addEventListener("click", Delegate.create(this, closeConnection));
  connect.tooltip = "Connect to Red5";
  disconnect.tooltip = "Disconnect from Red5";

  // add listener for connection changes
  connection.addEventListener("success", Delegate.create(this, manageButtons));
  connection.addEventListener("close", Delegate.create(this, manageButtons));
 }

 public function makeConnection(evtObj:Object):Void
 {
  if(uri.length > 0)
  {
    var goodURI = connection.connect(uri.text, getTimer());
    if(!goodURI) alert.show("Please check connection URI String and try again.");
  }
 }
We will now make quick and dirty changes to get the proof of concept working. We will hide all the unnecessary UI elements, then convert the listener to the regular function, and call it from the configUI function.
public function configUI():Void
 {
  disconnect._visible = false;
  connect._visible = false;
  uri._visible = false;
  light._visible = false;

  connection  = new Connection();
  light.registerNC(connection);
  if (makeConnection(Connector.red5URI)) {
    dispatchEvent({type:"connectionChange", connected: true, connection:connection});
  }
 }

 public function makeConnection(uri:String):Boolean
 {
  var result:Boolean = false;
  if(uri.length > 0)
  {
    result = connection.connect(uri, getTimer());
    if(!result) {
      alert.show("Failed to connect.");
    }
  }
  return result;
 }
Done! After making these changes we are good with SimpleSubscriber as well, because both classes use the same Connector class.
Step 3.
Unfortunately Red5 is written in ActionScript 2. We can’t really use any of the newer mxml compilers installed on our systems, because they compile ActionScript 3. Flex SDK is also only compatible with ActionScript 3. I spent quite a lot of time searching for a simple and working AS2 compiler on the Internet, and luckily, found one called MTASC.
The compiler needs to be supplied with the correct MX Component libraries to compile Red5 classes. Flash CS6 has those libraries, but in case you don’t have CS6 handy I put them on GitHub for you.
> export PATH="/path/to/mtasc-mx/bin:/path/to/mtasc-mx/std:$PATH"
> cd "/path/to/red5/classes"
> mtasc -cp . -swf ../simpleBroadcaster.swf -mx org/red5/samples/livestream/broadcaster/Main.as -v
> mtasc -cp . -swf ../simpleSubscriber.swf  -mx org/red5/samples/livestream/broadcaster/Main.as -v
The compiled swf’s can be found in the root of the current directory.
At this point it is possible to create a broadcast and stream it just by launching the swf’s, first broadcaster, then subscriber. However, we would like to be able to broadcast via network.
Are you ready to broadcast?
In order to enable broadcasting in our web application we will need to drop the compiled swf files into its public directory.
We will then download the swfobject.js JavaScript library and drop it into the public directory of our web application as well.
We will create the broadcast.html file:
<html>
  <head>
    <title>Red5 Demo - Simple Broadcaster</title>
    <meta http-equiv="Content-Type" content="text/html; charset=iso-8859-1" />
    <script type="text/javascript" src="swfobject.js"></script>
    <script type="text/javascript">
      swfobject.embedSWF("simpleBroadcaster.swf","myContent","360","240","8.0.0","jwplayer/expressInstall.swf");
    </script>
    <style media="screen" type="text/css">#myContent {visibility:hidden}</style>
  </head>
  <body>
    <div id="myContent">
      <h1>You need the Adobe Flash Player for this demo, download it by clicking the image below.</h1>
      <p><a href="https://get.adobe.com/flashplayer/"><img src="https://www.adobe.com/images/shared/download_buttons/get_flash_player.gif" alt="Get Adobe Flash player"/></a></p>
    </div>
  </body>
</html>
Then we will create the watch.html file:
<html>
<head>
<title>Red5 Demo - Simple Subscriber</title>
<meta http-equiv="Content-Type" content="text/html; charset=ISO-8859-1">
<script type="text/javascript" src="swfobject.js"></script>
<script type="text/javascript">
swfobject.embedSWF("simpleSubscriber.swf","myContent","360","240","8.0.0","assets/expressInstall.swf");
</script>
<style media="screen" type="text/css">#myContent {visibility:hidden}</style>
</head>
<body>
<div id="myContent">
<h1>You need the Adobe Flash Player for this demo, download it by clicking the image below.</h1>
<p><a href="https://get.adobe.com/flashplayer/"><img src="https://www.adobe.com/images/shared/download_buttons/get_flash_player.gif" alt="Get Adobe Flash player"/></a></p>
</div>
</body>
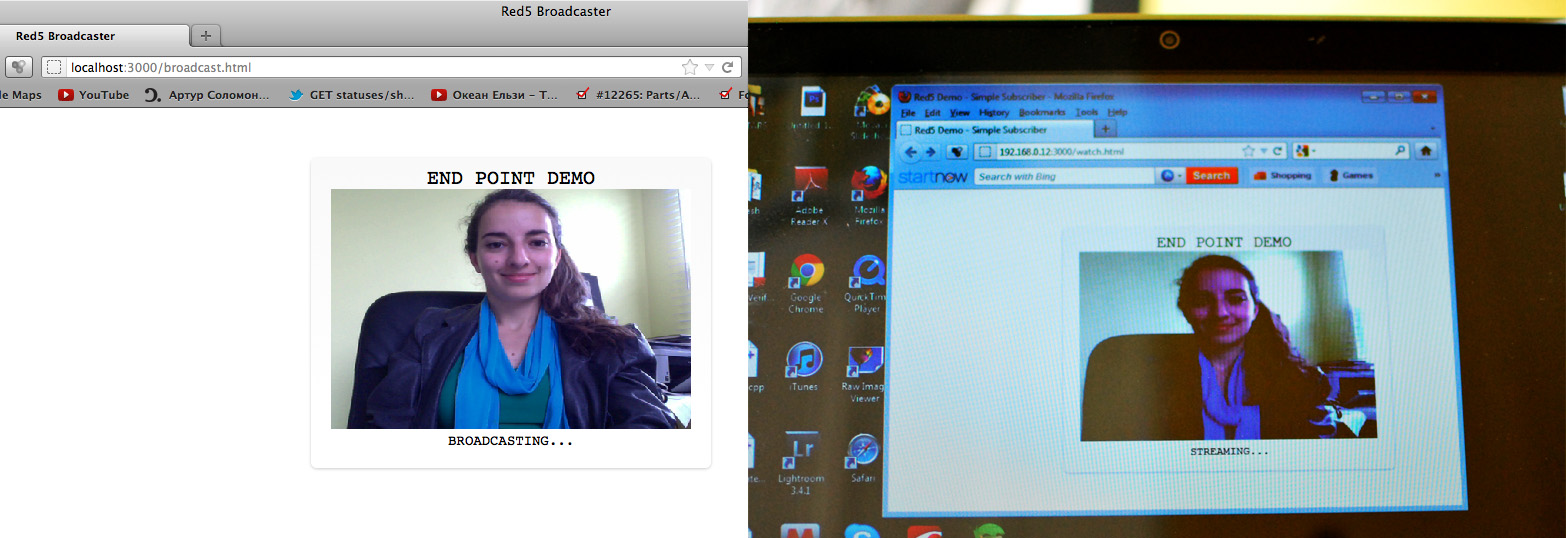
</html>At this point we are able to start a broadcast at http://localhost/broadcast.html and watch it at http://localhost/watch.html! In this case I am broadcasting from a MacBook and streaming to a Windows laptop.
Sweet! Next step is to implement the actual two-way hangout with Red5 Media Server!
Read on here: Streaming Live with Red5 Media Server: Two-Way
Comments